
 Sign in
 Sign up


How to Fly a GPS Drone for the First Time
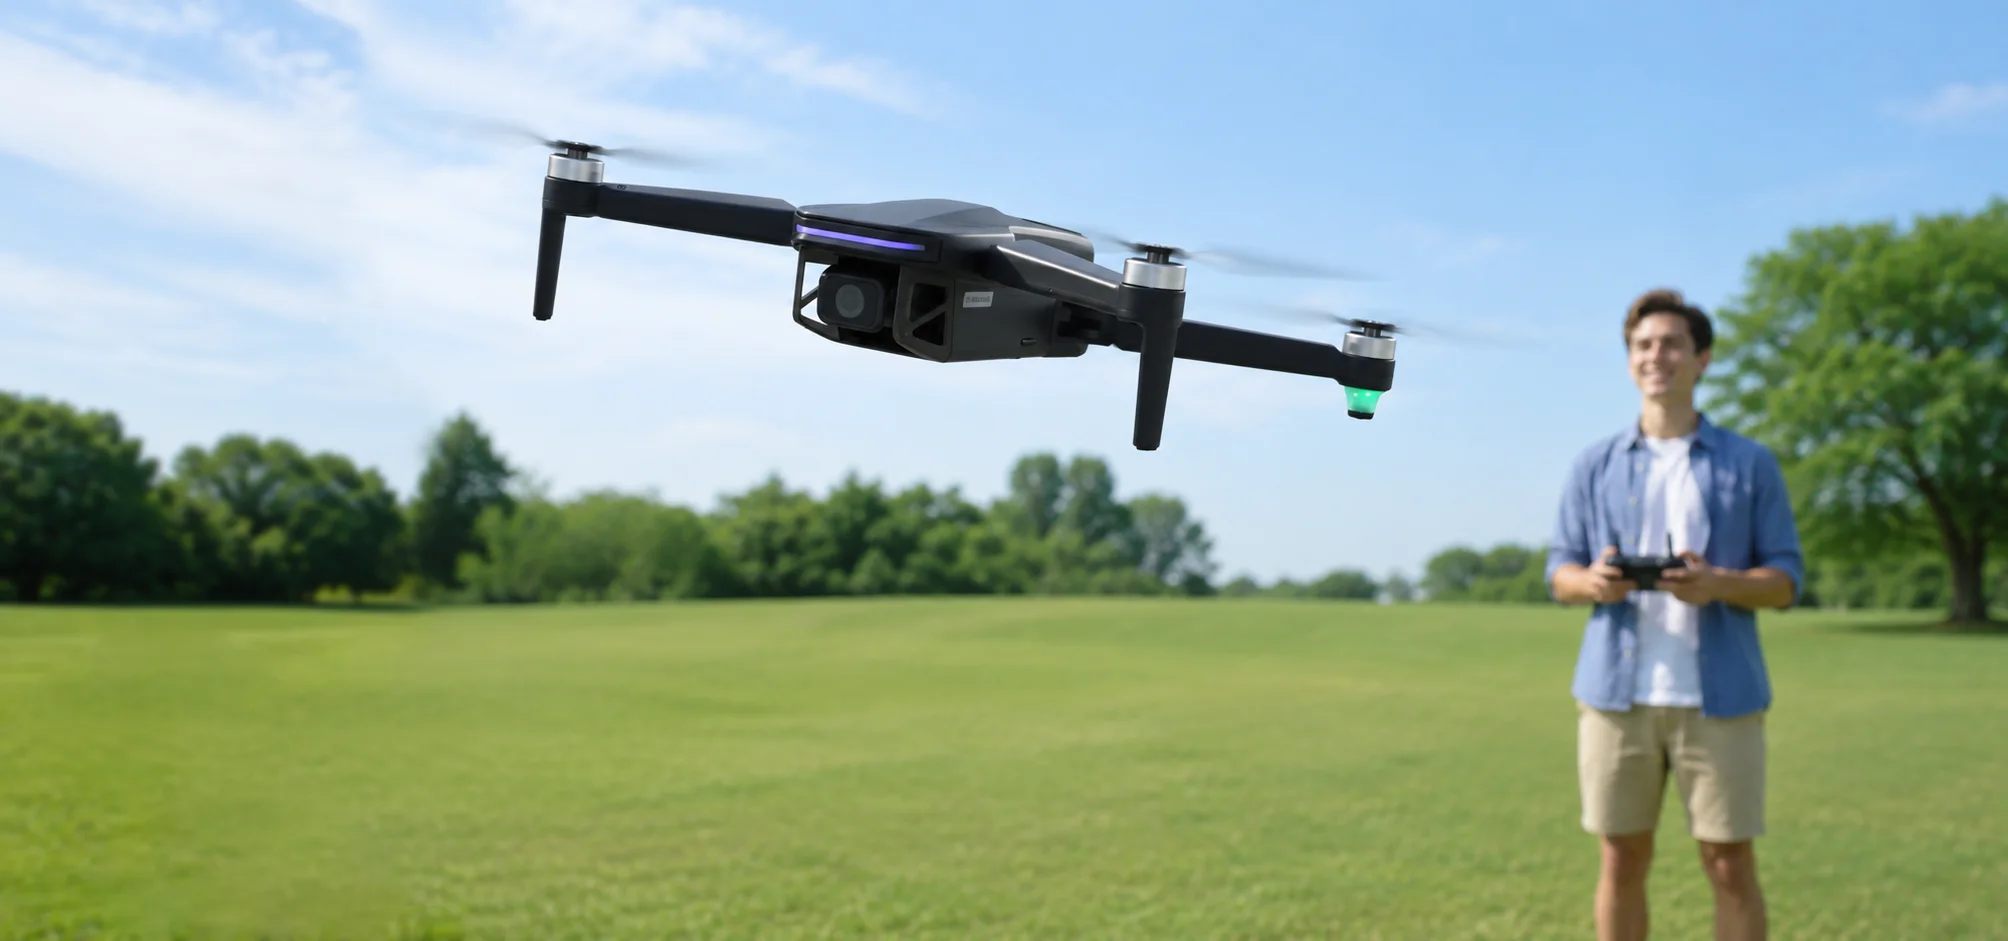
How to Fly a GPS Drone for the First Time
A practical first-flight guide built around the habits experienced pilots wish beginners learned earlier.
Start in the right place, wait for GPS, understand Return to Home, practice one movement at a time, and bring the drone back before the battery becomes a problem.
Flying a GPS drone for the first time can feel easier and more intimidating than expected. Modern consumer drones can hold position, return toward a recorded Home Point, show a live camera view and perform automatic flight patterns. Those features reduce workload — but they work best when you understand what the drone is doing before takeoff.
For your first flight, forget about getting the perfect aerial video. Your real goal is simpler: take off safely, understand how the drone responds, keep it close, and bring it back confidently.
Your first flight is not a range test, and it is not a camera test. It is a confidence test.
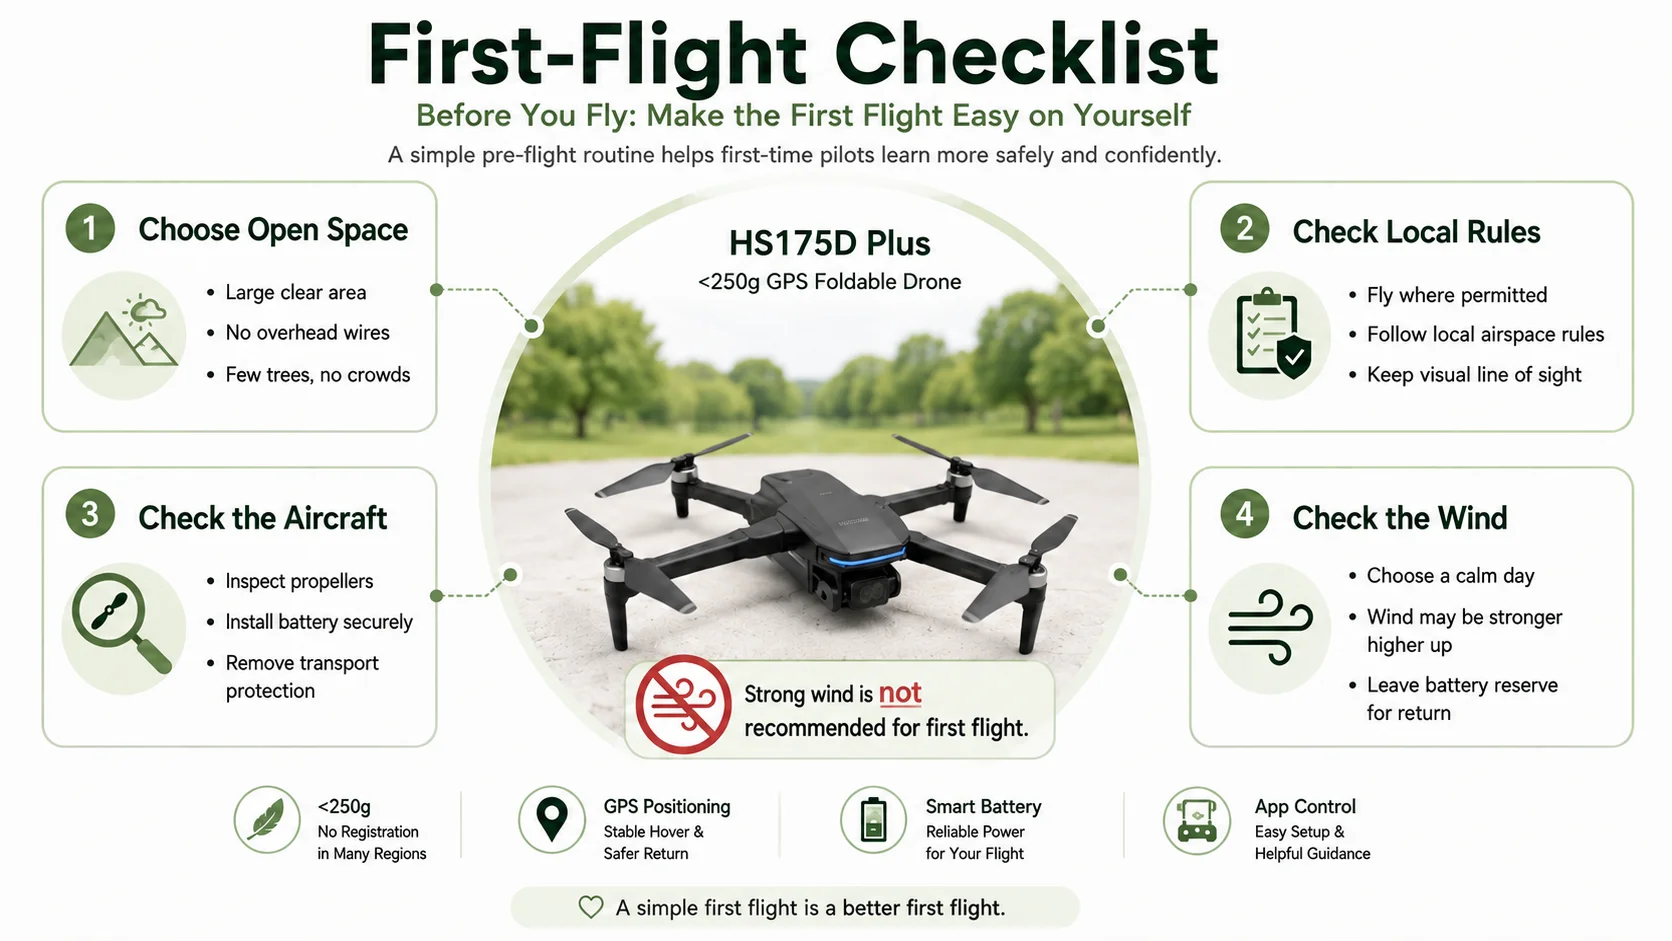
Before You Fly: Make the First Flight Easy on Yourself
Experienced pilots repeatedly recommend the same thing to beginners: choose a large, open, boring place for the first few flights. An empty field is usually easier to learn in than a backyard surrounded by fences, trees, roofs, wires and people.
Choose Open Space
Look for a large clear area with few trees, no overhead wires, no crowds and plenty of landing room.
Check Local Rules
Make sure drone flight is permitted where you are operating and follow the rules that apply in your country or region.
Check the Aircraft
Inspect propellers, install the battery fully, charge the controller and remove any transport protection that should not remain during flight.
Check the Wind
Choose a calm day. The wind you feel at ground level may be weaker than the wind the drone experiences higher up.
Wait for GPS and Confirm the Home Point
One of the easiest beginner mistakes is taking off as soon as the controller connects. A connected controller does not automatically mean the drone is ready for GPS flight. Give the aircraft time to acquire the satellite signal required by your model and confirm that its Home Point has been recorded.
1. Power On in an Open Area
Keep the drone away from large metal objects, cars, railings and other sources of magnetic interference.
2. Wait for GPS Status
Follow the satellite-count or GPS-ready guidance shown by your controller or app.
3. Confirm the Home Point
Before flying away, make sure the drone has stored the intended takeoff area as its Home Point.
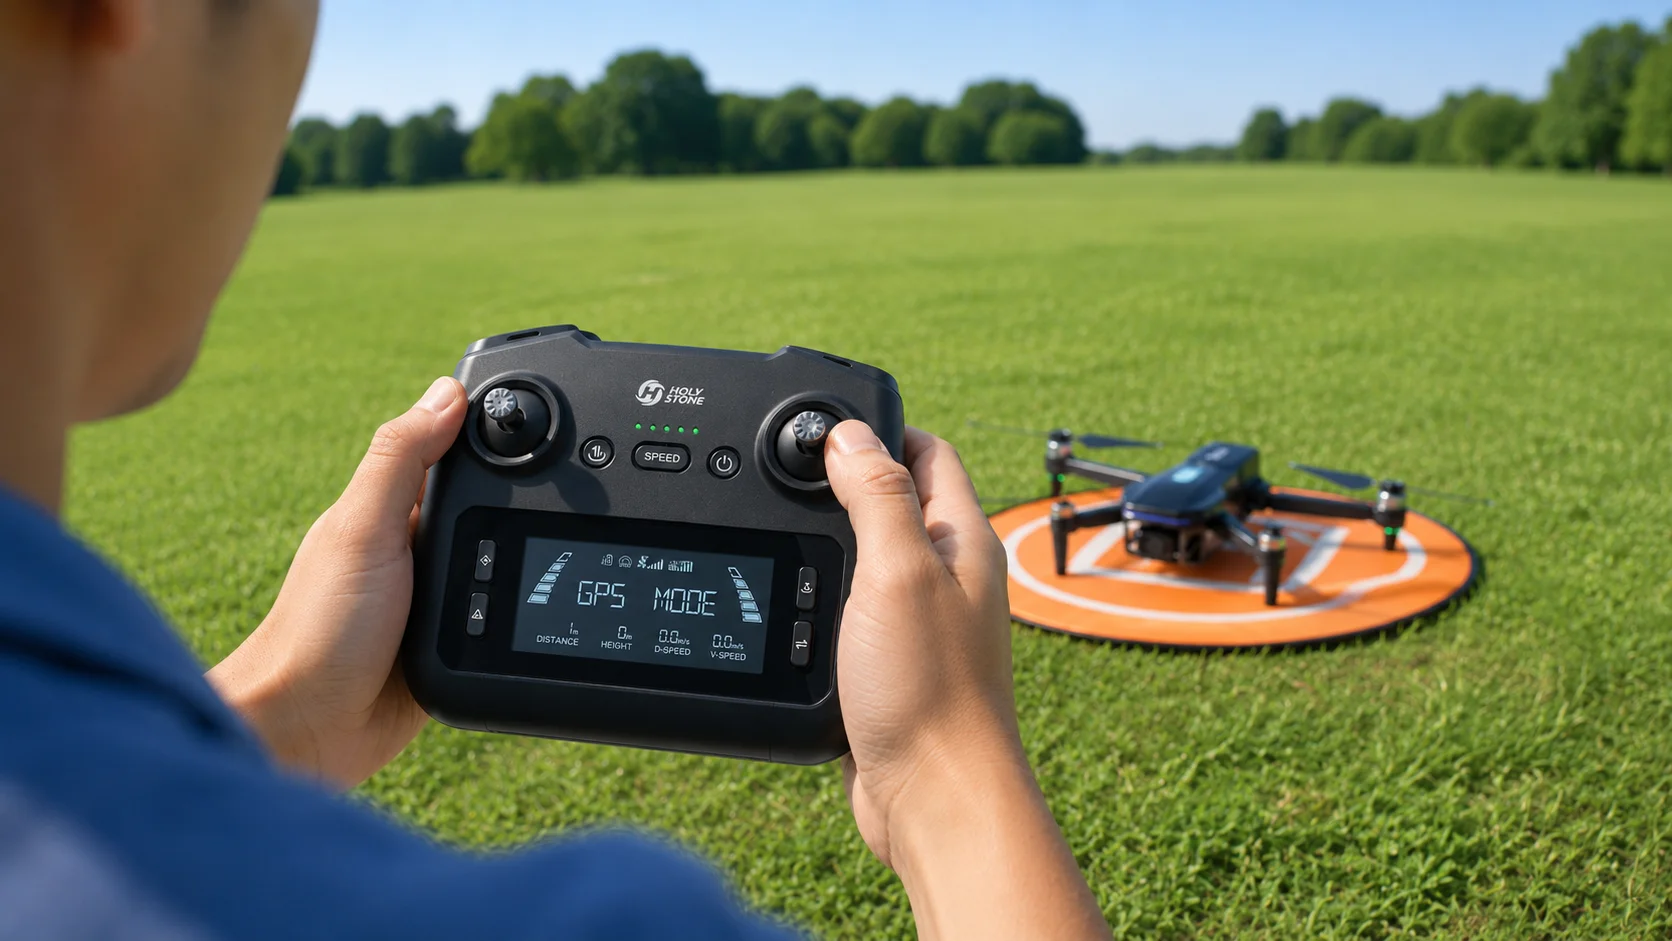
Before you rely on Return to Home, learn what the Home Point, return path, altitude, signal loss and battery conditions can change. Read Drone Return to Home Explained: How RTH Really Works.
Take Off — Then Do Almost Nothing
For the first takeoff, rise only a few meters and let the drone hover. Watch what happens before you start flying around.
Watch the Hover
Does the aircraft hold position reasonably well, or is wind pushing it around?
Watch the GPS Status
Make sure the expected GPS mode remains active after takeoff.
Learn to Pause
When you feel unsure, stop adding stick inputs for a moment and let a GPS-assisted drone stabilize.
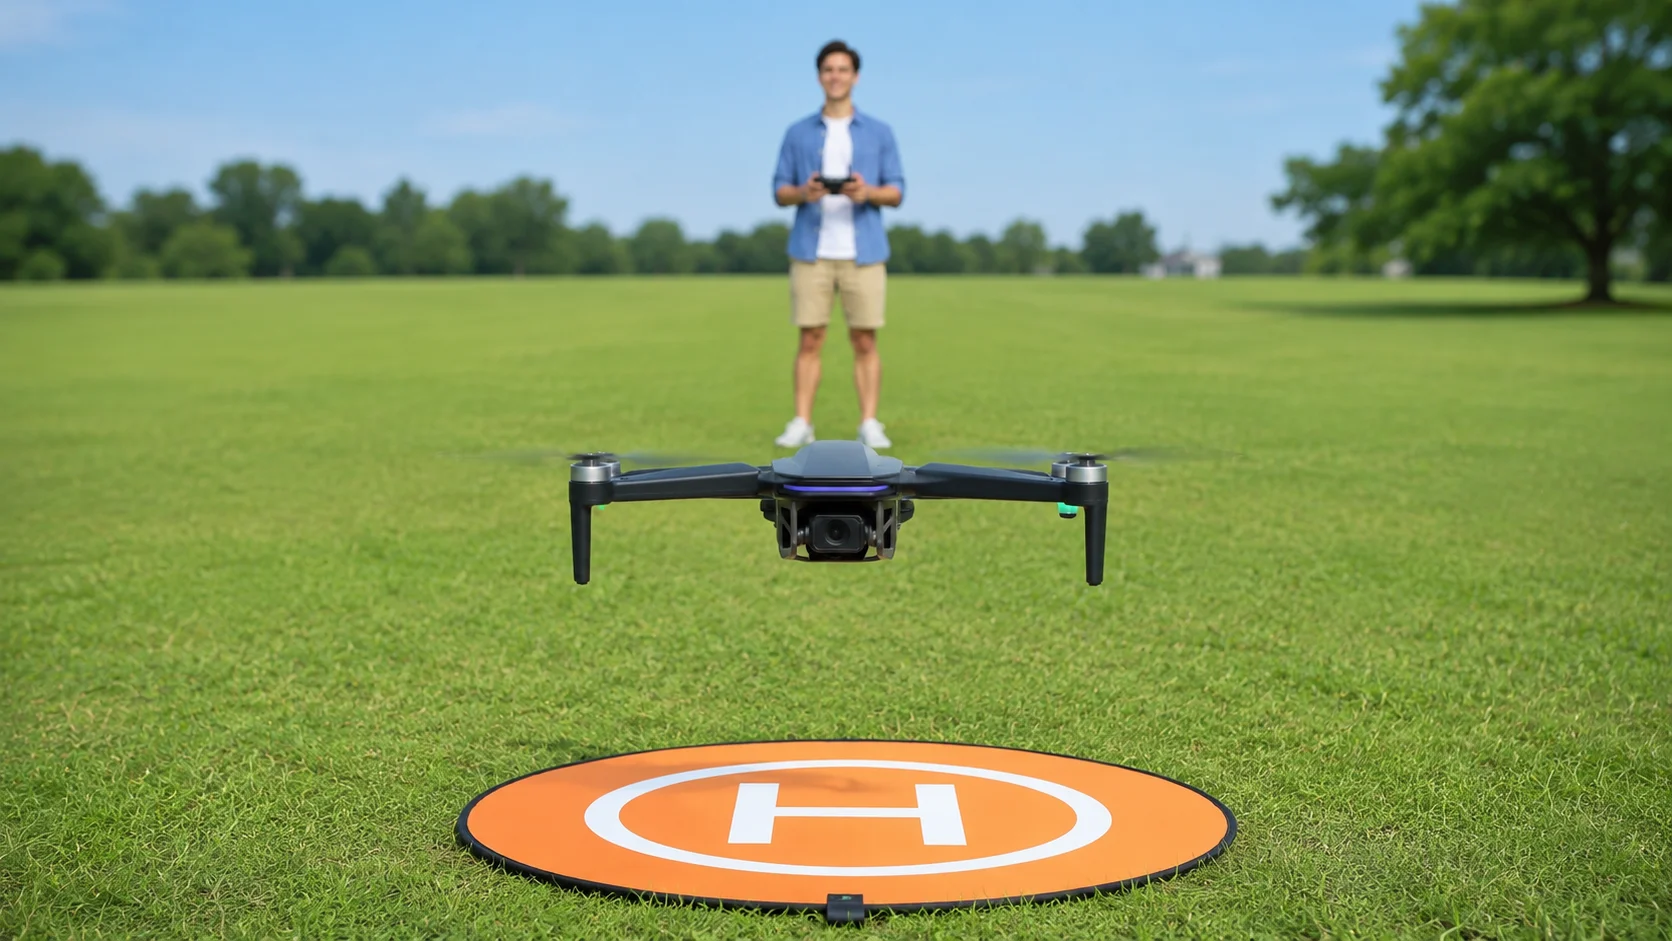
Learn One Stick Movement at a Time
Do not try to fly a complicated pattern immediately. Experienced pilots often recommend isolating one control at a time until the relationship between stick input and aircraft movement starts to feel natural.
Climb and Descend
Move up a little, stop, hover, then descend. Learn how quickly the aircraft responds.
Rotate Left and Right
Practice yaw while keeping the drone in roughly the same position.
Fly Forward and Back
Use short distances. Stop and hover after every movement.
Move Left and Right
Practice lateral movement before combining it with turns.
Keep the drone facing roughly away from you at first. When it faces you, left and right appear reversed from your point of view. The controls have not changed — the aircraft orientation has.
Look at the drone more than the screen during your first flights.
The live camera view is exciting, but it can hide obstacles outside the camera's field of view. Thin branches and wires are especially easy to miss on a phone display. Watch the aircraft itself so you can understand orientation, drift, distance and how wind is affecting the flight.
Respect the Wind — and Do Not Use the Entire Battery
The wind at altitude can be stronger than the wind you feel on the ground. A small drone may travel away easily with a tailwind and then struggle to return against the same wind.
The same logic applies to battery life. A rated 30-minute flight time does not mean you should plan to land at minute 29. You need reserve power for the return, unexpected wind, repositioning and a safe landing.
Wind, battery reserve, Home Point, signal and pilot reactions often matter together—not one at a time. See Why GPS Drones Crash or Get Lost: What Beginners Often Get Wrong for the full accident chain.
Practice Return to Home Before You Actually Need It
One of the worst times to learn how RTH works is when the drone is far away, the battery is low and you are already nervous. Instead, test it under controlled conditions while the aircraft is still close and clearly visible.
Fly a Short Distance Away
Keep the aircraft clearly within visual line of sight.
Activate RTH
Watch how the drone climbs, turns or returns according to your model's programmed behavior.
Learn How to Cancel It
If your model allows manual cancellation, practice taking control back before you need to do it under pressure.
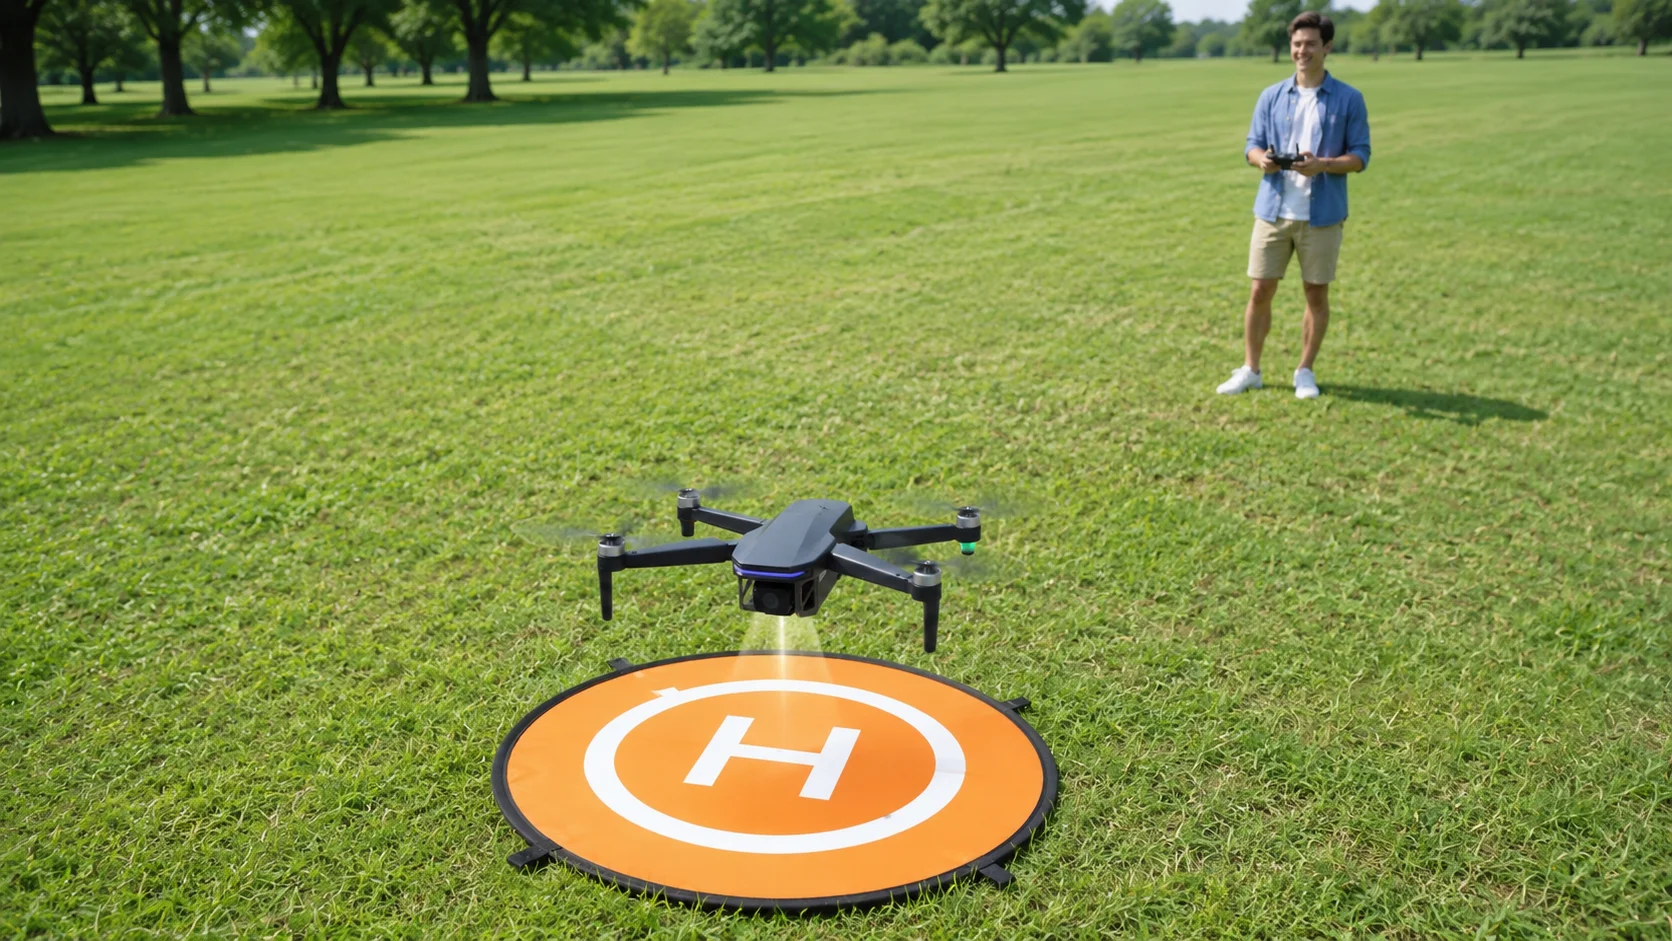
Save Automatic Flight Modes for After the Basics
GPS Follow, Point of Interest, TapFly, Catapult, Spiral Up and similar modes are some of the most enjoyable parts of owning a GPS drone. But automatic does not mean obstacle-aware.
Know Where the Drone Will Move
Understand the likely path before activating an automatic movement.
Keep the Entire Path Clear
An orbit or programmed route can carry the drone sideways toward an obstacle you cannot see through the forward camera.
Know How to Stop the Mode
Learn how to cancel automated flight and return to manual control before experimenting farther away.
A Simple 10-Minute First-Flight Practice Plan
You do not need to use the entire battery to have a successful first flight. Finish while you still feel in control and still have plenty of battery remaining.
The Most Common First-Flight Mistakes
Taking Off Before GPS Is Ready
Wait for the GPS-ready status and Home Point confirmation required by your drone.
Flying Too Far Too Soon
Maximum range is a capability, not a first-flight target.
Watching Only the Phone
The camera cannot show every obstacle around the aircraft.
Using Every Last Percent of Battery
Always leave reserve power for return and landing.
Testing Smart Modes Too Early
Learn basic manual control and mode cancellation first.
Assuming RTH Means Perfect Landing
GPS return helps bring the drone back to the home area; final landing accuracy can vary.
First learn to fly the drone. Then learn to use the camera.
Once takeoff, hovering, orientation, short out-and-back flights and RTH all feel familiar, you can spend more attention on camera tilt, framing, automatic flight modes and aerial composition.
First GPS Drone FAQ
Should I calibrate my GPS drone before every flight?
Not necessarily. Calibration requirements vary by model. Follow the manual and on-screen warnings for your drone rather than developing a random calibration routine.
How far should I fly on my first flight?
Keep the drone close enough that you can clearly see its orientation and understand what it is doing. A first flight is not the time to test maximum advertised range.
What should I do if I suddenly feel confused?
If conditions are safe and your GPS-assisted drone is operating normally, stop making large stick inputs and let the aircraft stabilize while you re-orient yourself.
Should I use Return to Home on my first flight?
It is useful to practice RTH from a short, controlled distance after you understand the Home Point and RTH altitude settings. The goal is to learn how the feature behaves before you need it.
When should I try Follow Me, POI or TapFly?
Try automatic modes only after you are comfortable with takeoff, hovering, orientation, manual return and how to cancel automated flight.
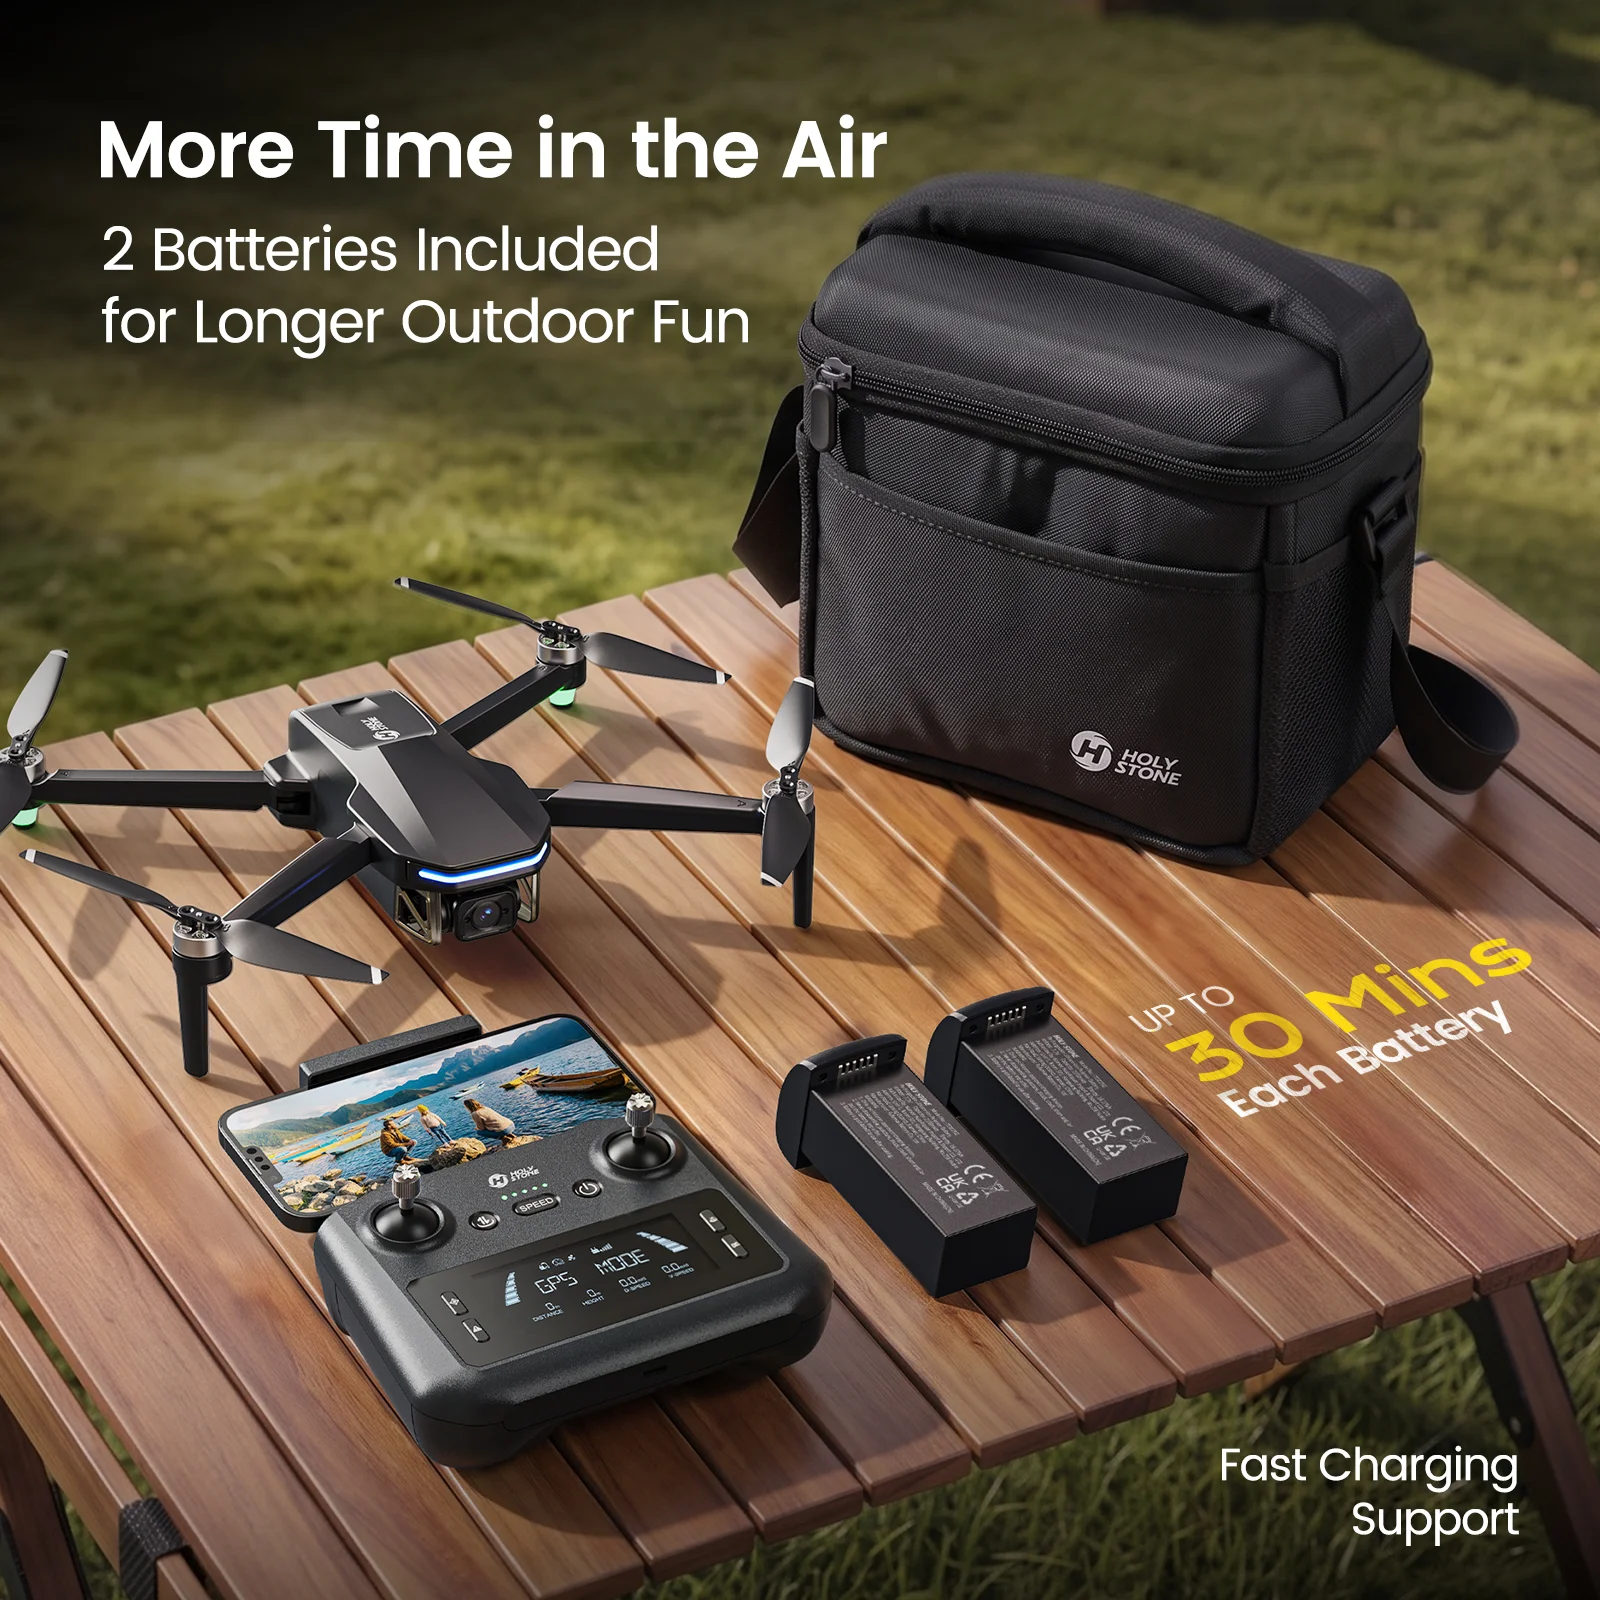
Want a GPS Drone Built Around the Basics Beginners Use Most?
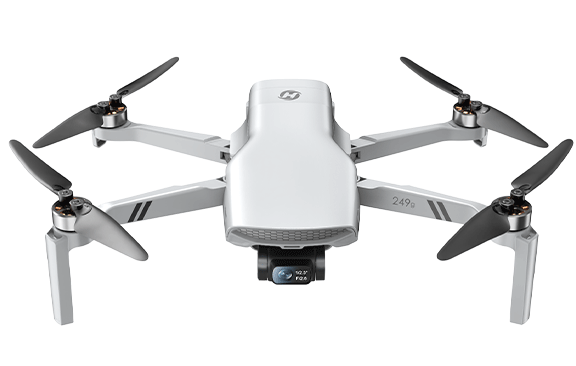
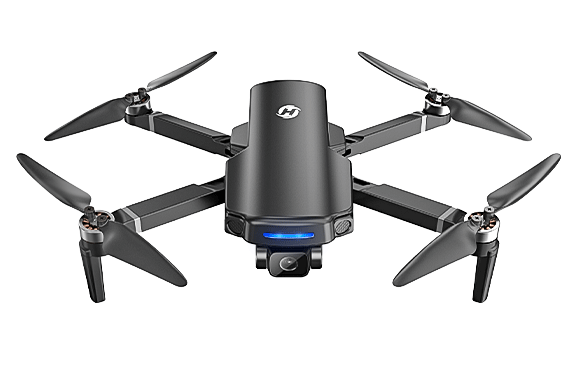
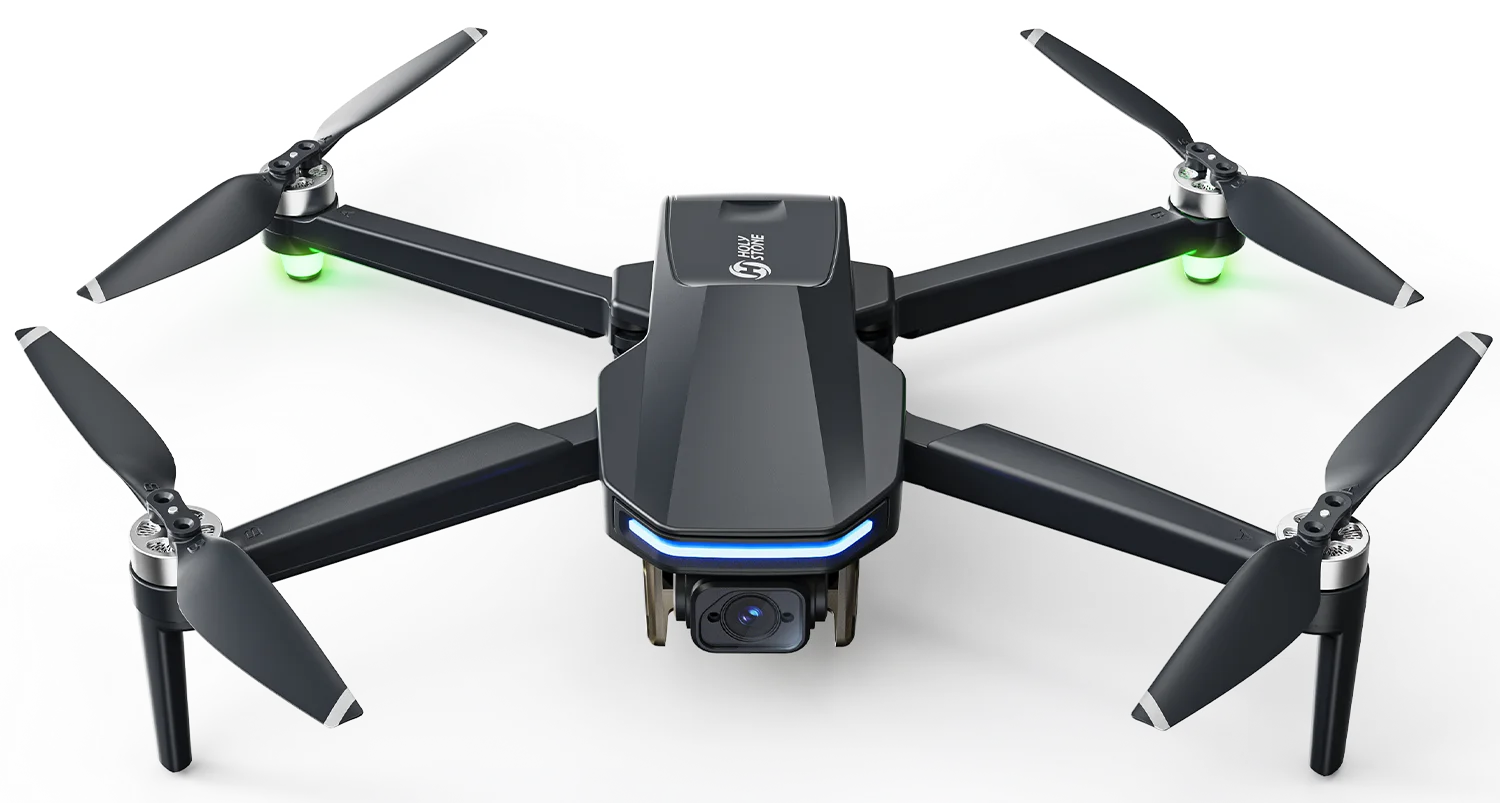
HS175D Plus is designed as an upgraded entry-level GPS drone: lightweight, easier to bring outdoors, equipped with Return to Home, and able to introduce new pilots to multiple automatic flight modes as their confidence grows.
Your Next GPS Drone Skills
Once your first flight feels comfortable, learn how Return to Home works in more detail, then see the common mistakes that can turn a small GPS-flight problem into a crash or lost drone.


COMMENTS