Creator-ready | Sony detail · Gimbal-steady · Up to 9 km link · 60-min flight
HS790 Banner.jpg


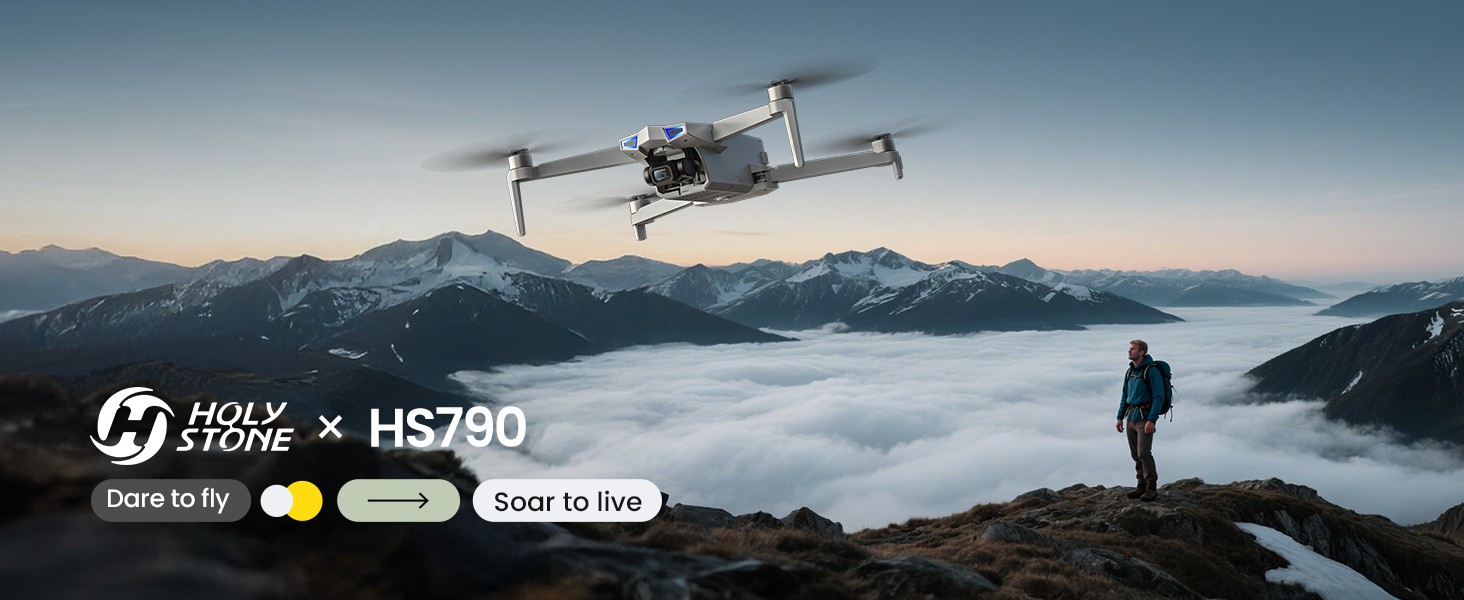
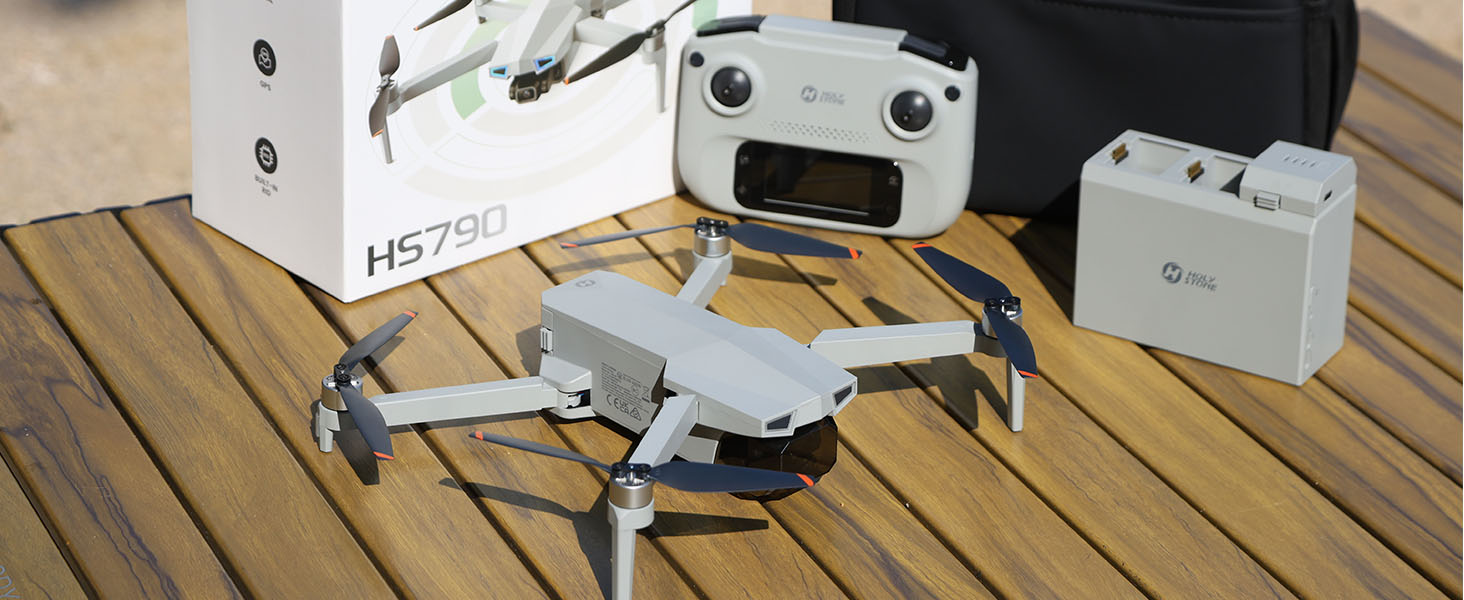
Your Step-up Aerial Partner

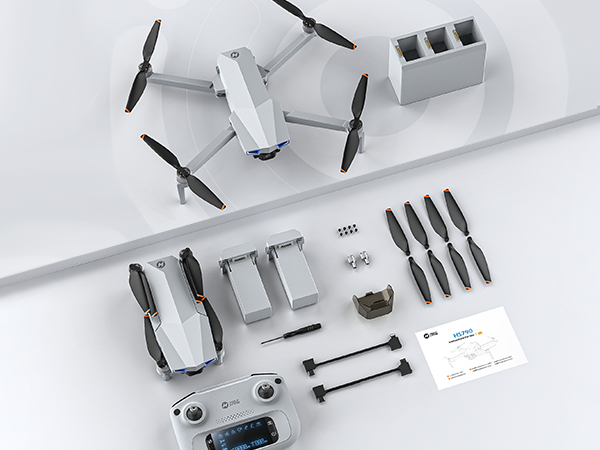
Model No.: HS790, Weight: 377g | 13.3oz

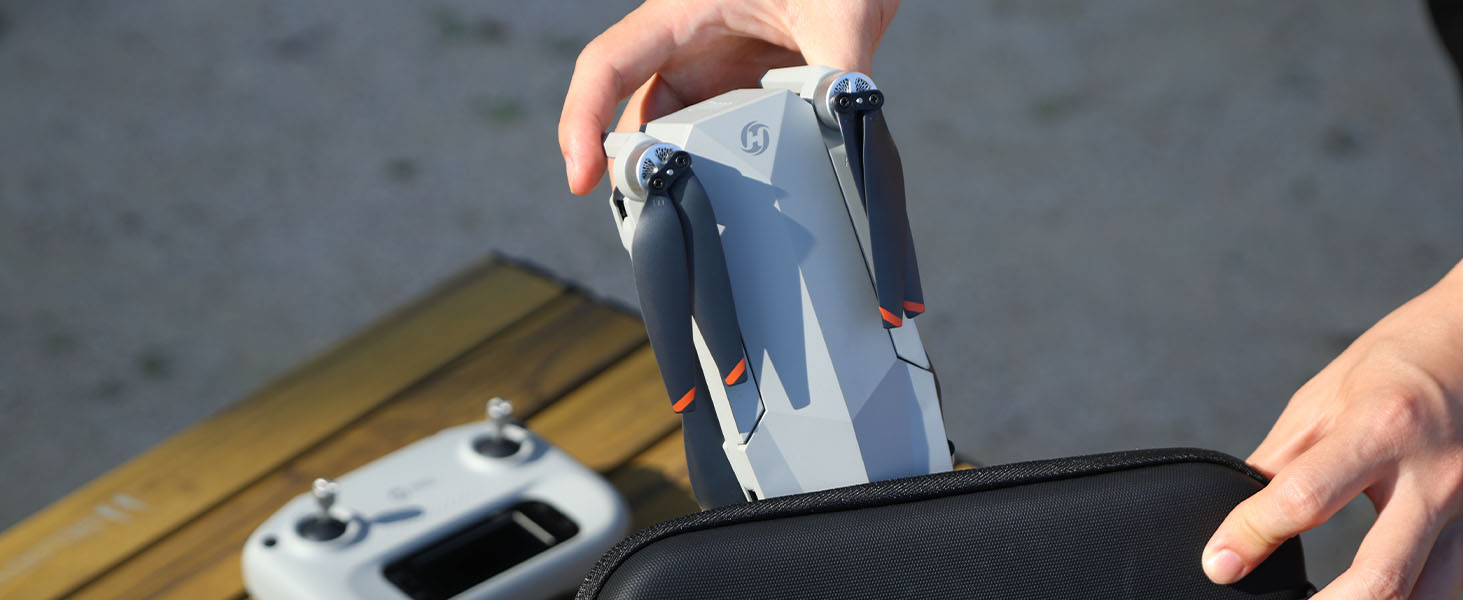
Your Travel Aerial Partner
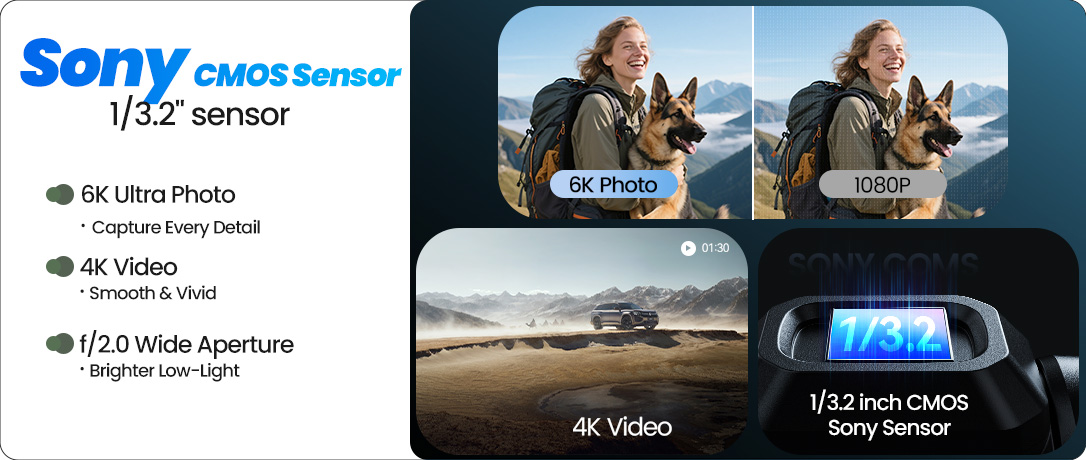
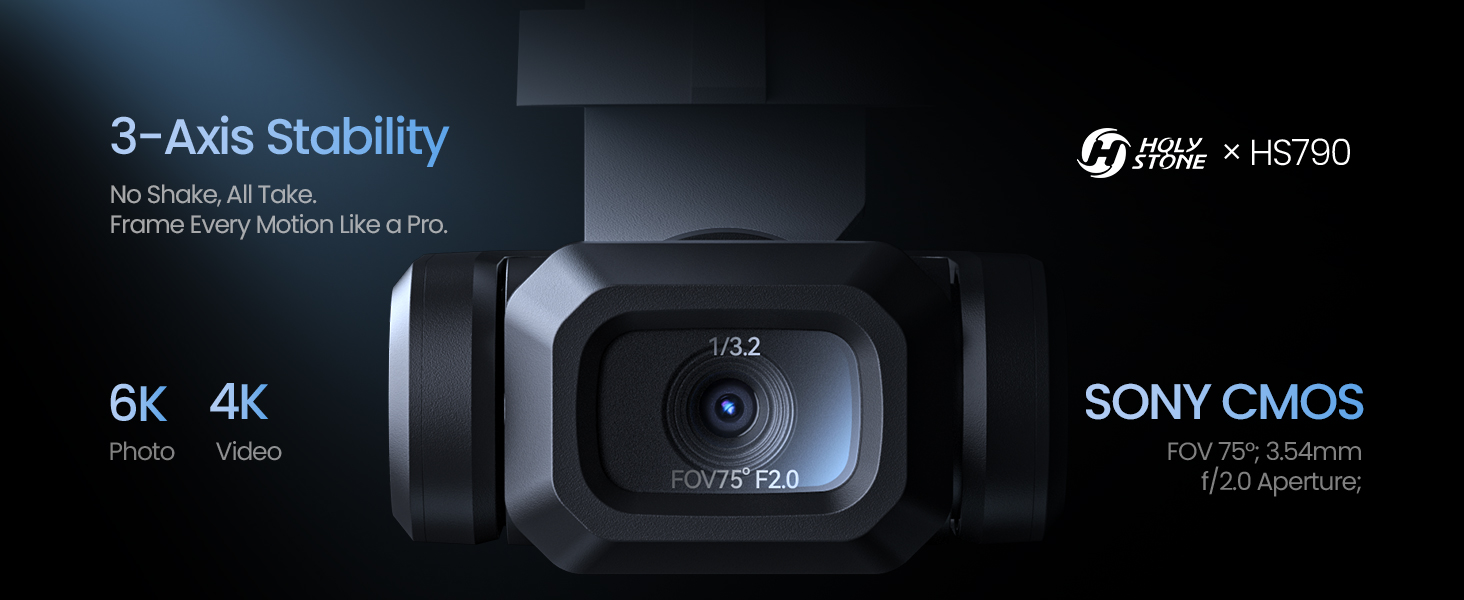
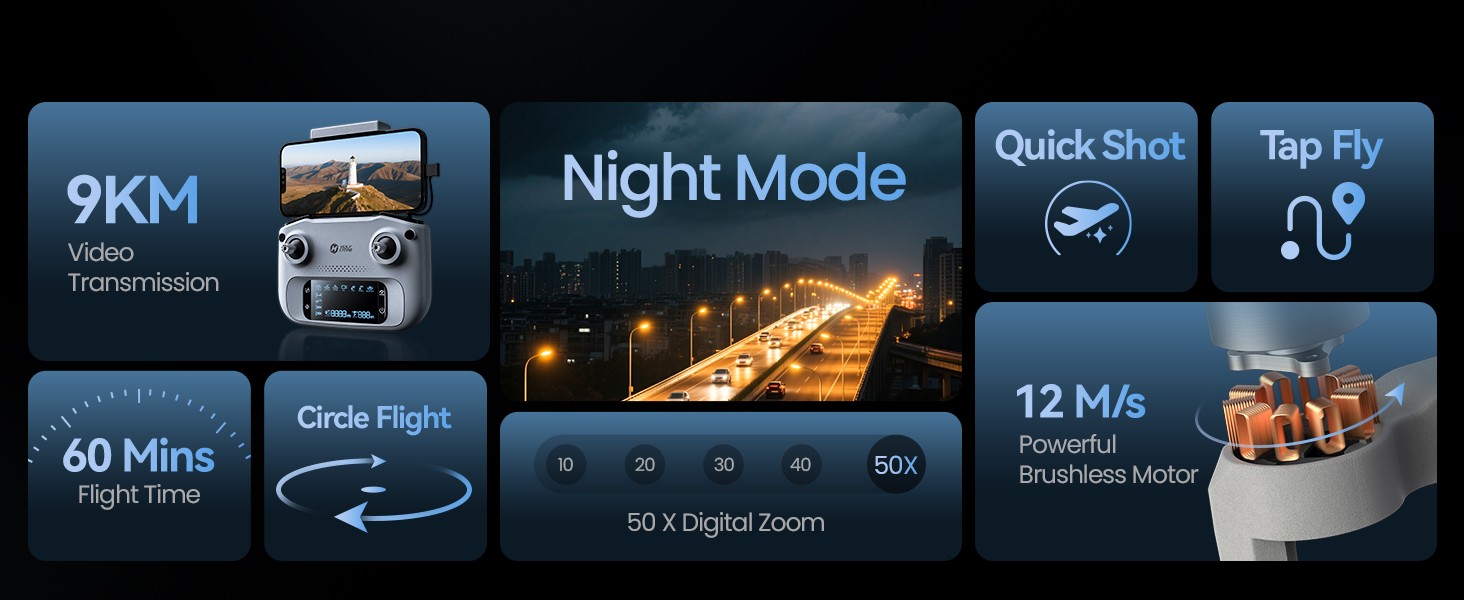
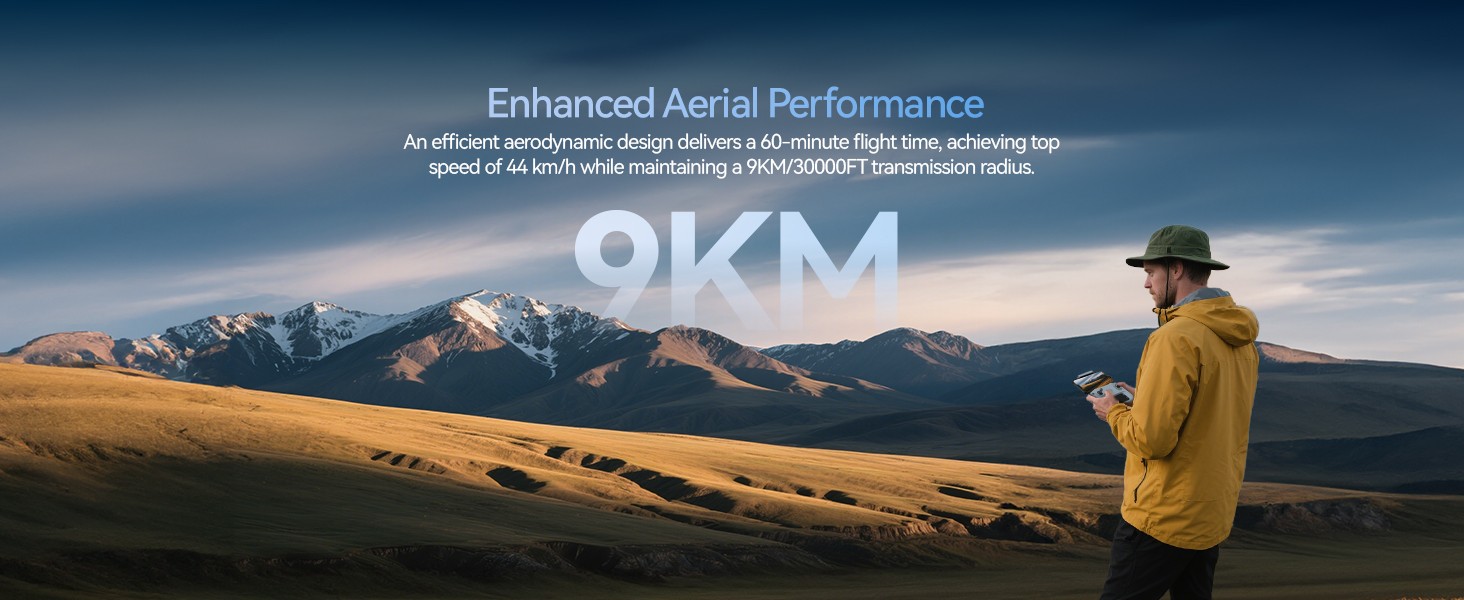
– Creator-ready for your next step-up — 3-axis gimbal, 6K photo / 4K/30 video, 9 km Image Transmission Range, GPS Smart Flight, 60-min flight (2×30), built-in Remote ID.

ICON 1.png
ICON 2.png
1086x460.png
Sony 1_3.2“ CMOS Sensor.jpg
3 9km Transmission wired connection.jpg
4 dual batteries, smart hub.jpg
5 GPS-Assisted Smart Flight.jpg
6 Built-in Remote ID.jpg

7 Smart Shooting Modes.jpg

8 Level 5 Wind Resistance.jpg

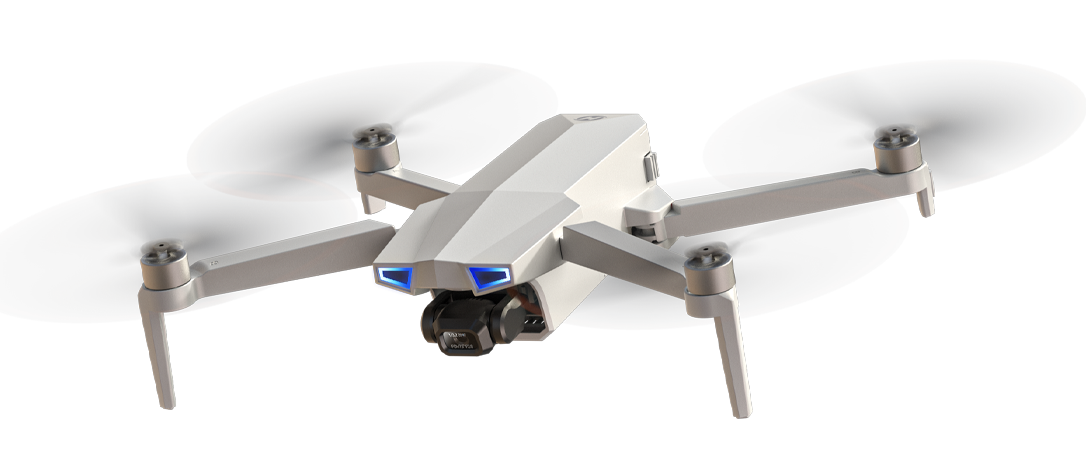
HS790 — Creator-Ready, Travel-Light

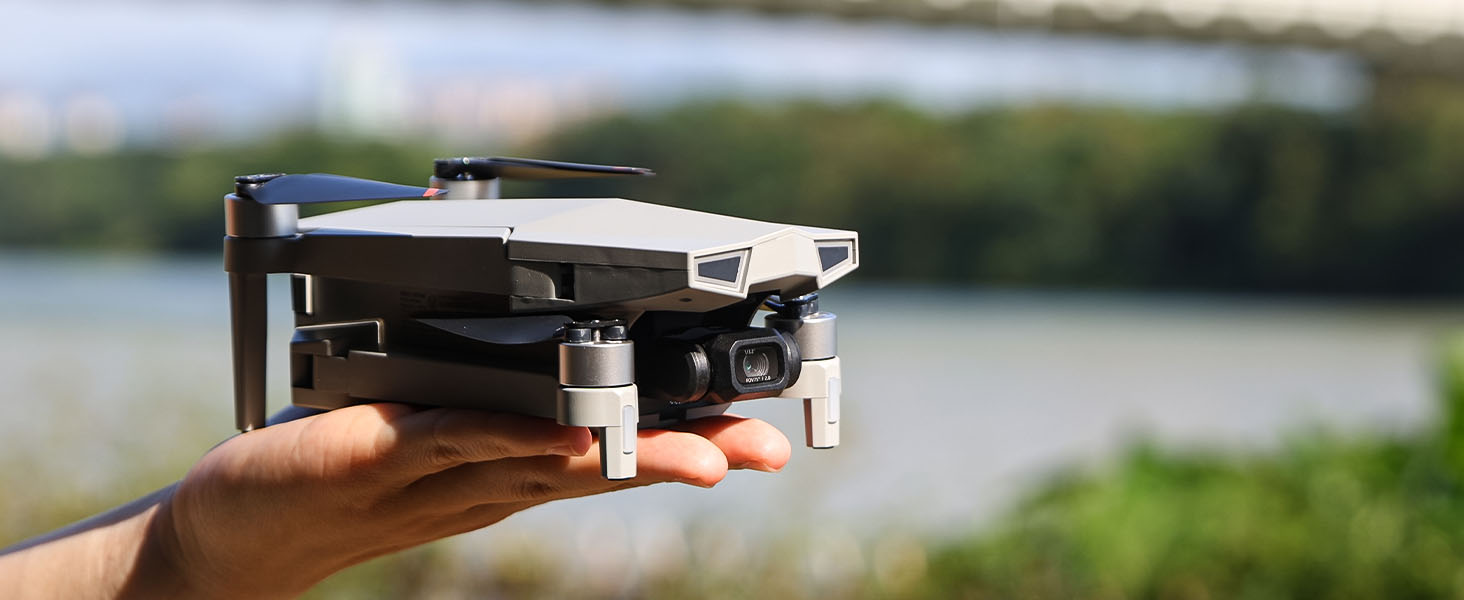
A step-up camera drone for everyday creators: 3-axis gimbal stabilization, Sony 1/3.2" CMOS for sharp 6K photos and 4K/30fps video, GPS-assisted smart flight, and a foldable, go-anywhere build.

Fly farther with a 9 km wired relay image link, shoot longer with 2×30 min batteries, and stay compliant with the built-in Remote ID.

HS790 1.jpg                HS790 2.jpg

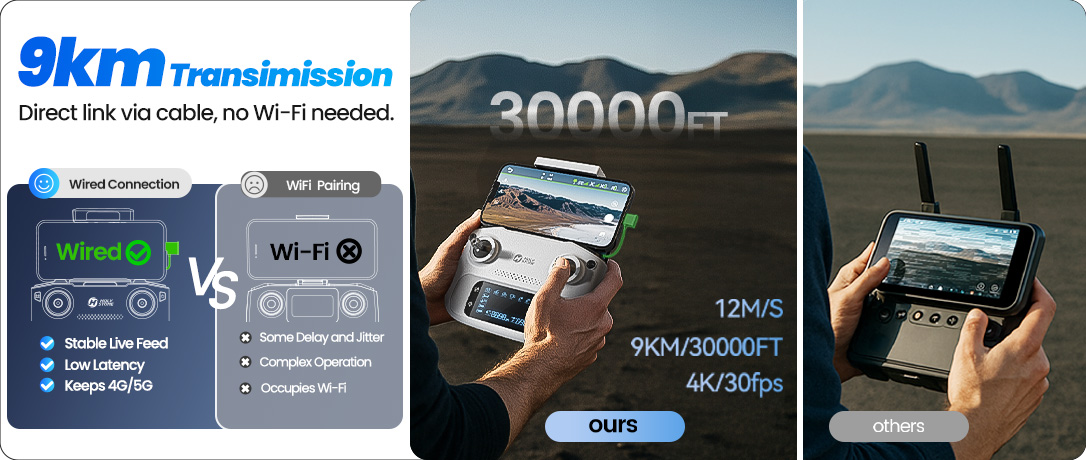
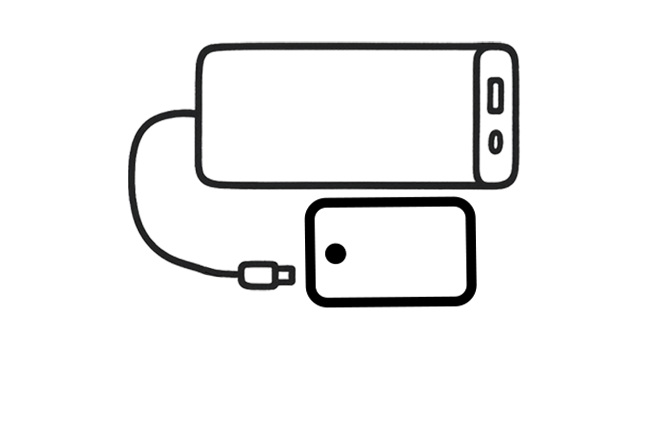
9 km Image Transmission — Wired Link, Low-Latency Feed

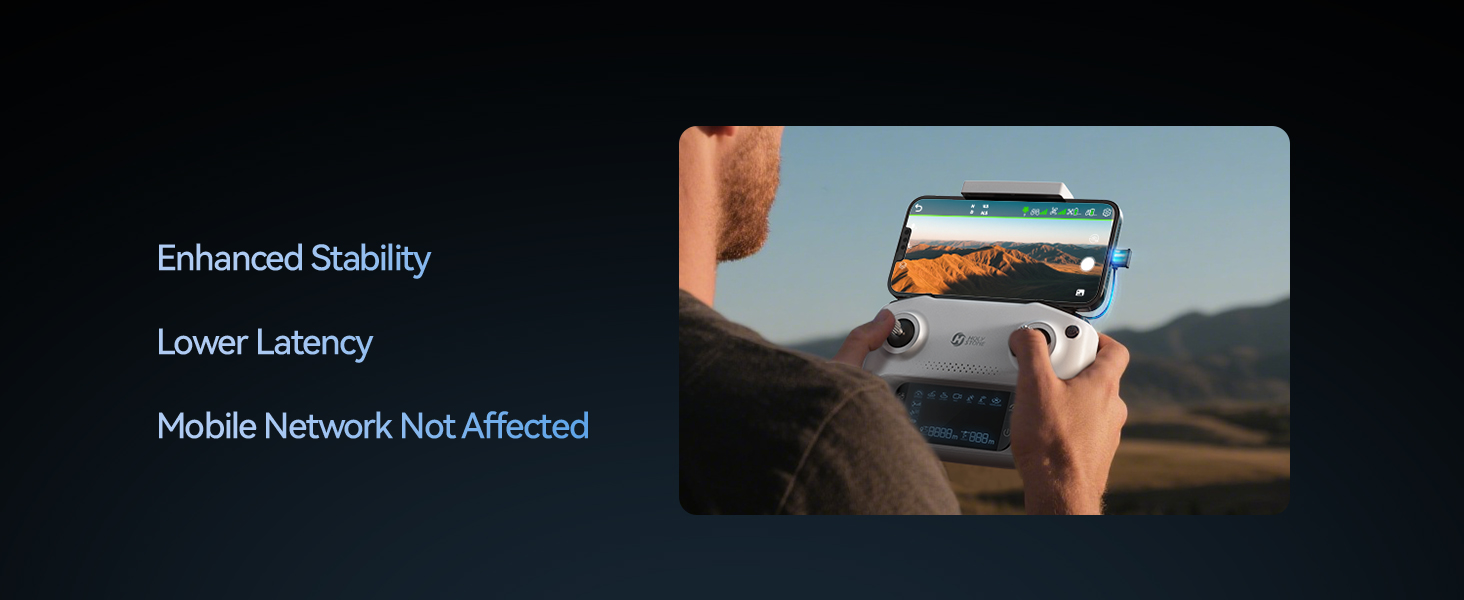
Your phone connects to the transmitter via cable for a clean, interference-resistant link. Enjoy a smooth HD live view up to 9 km with fewer drops, less delay, and no need to switch to airplane mode.

9km image transmission.jpg

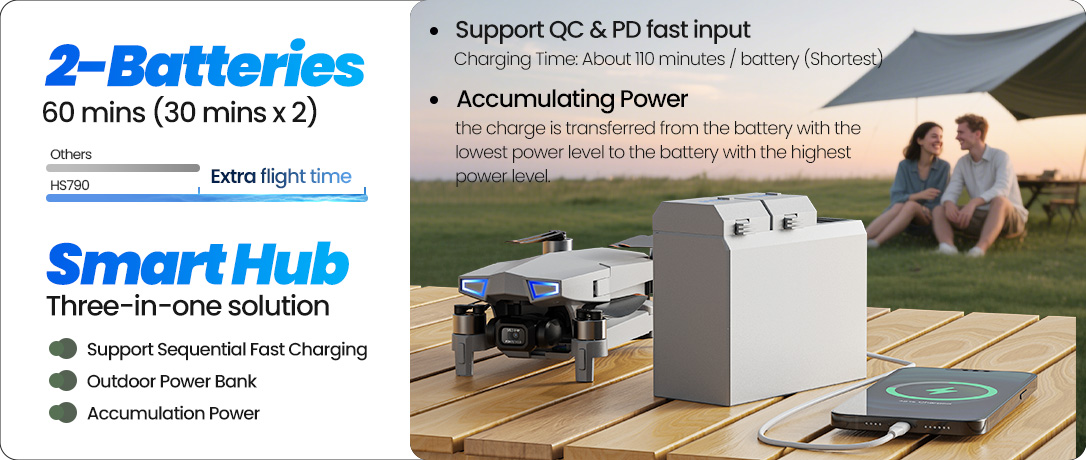
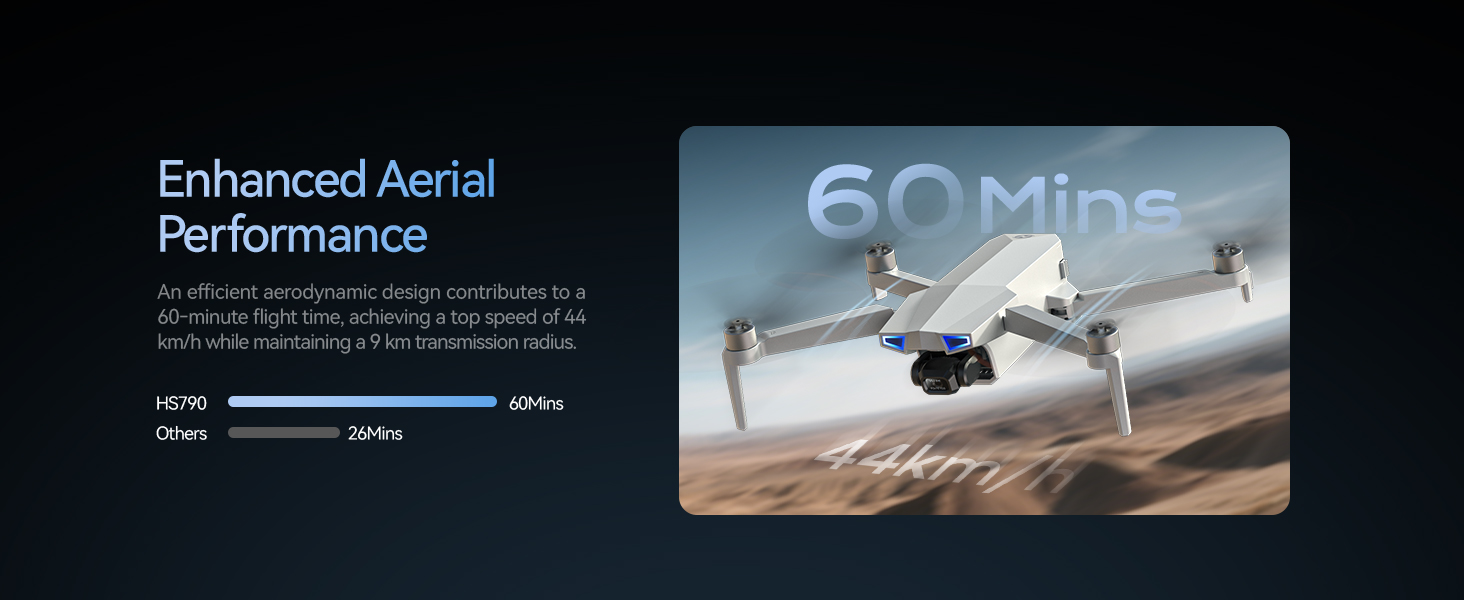
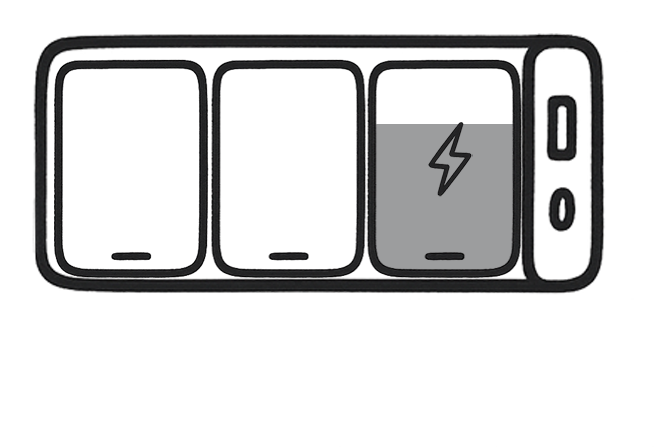
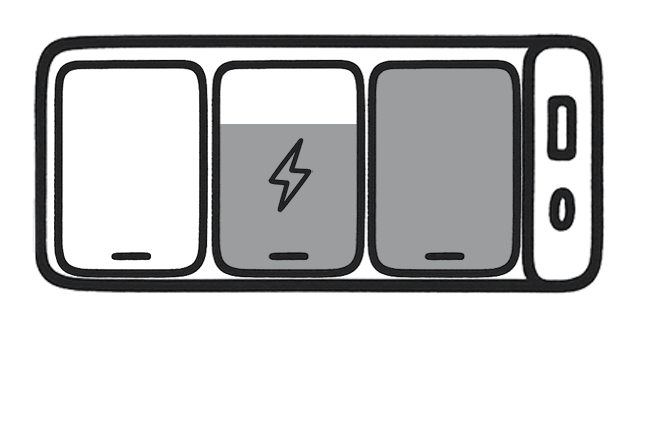
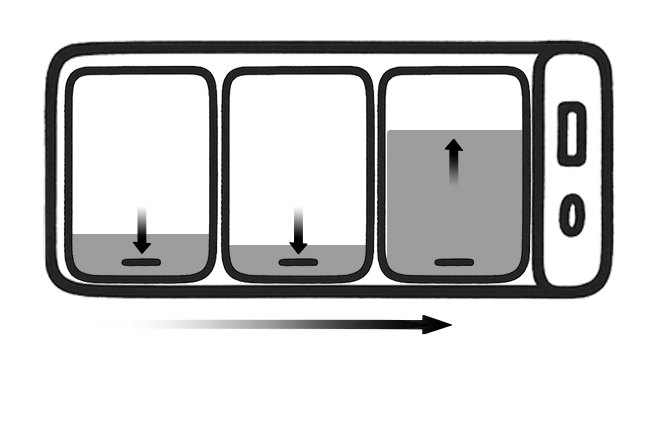
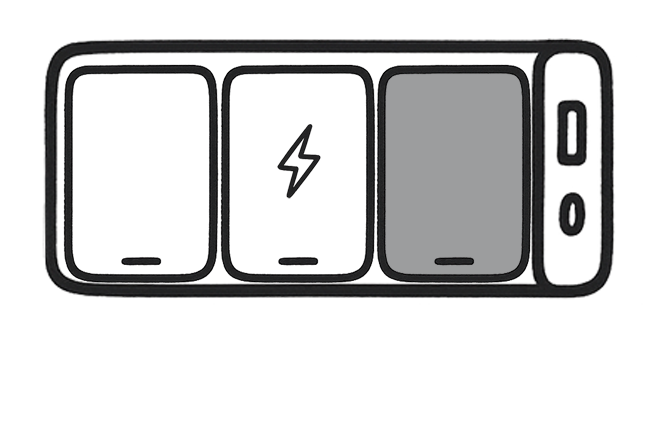
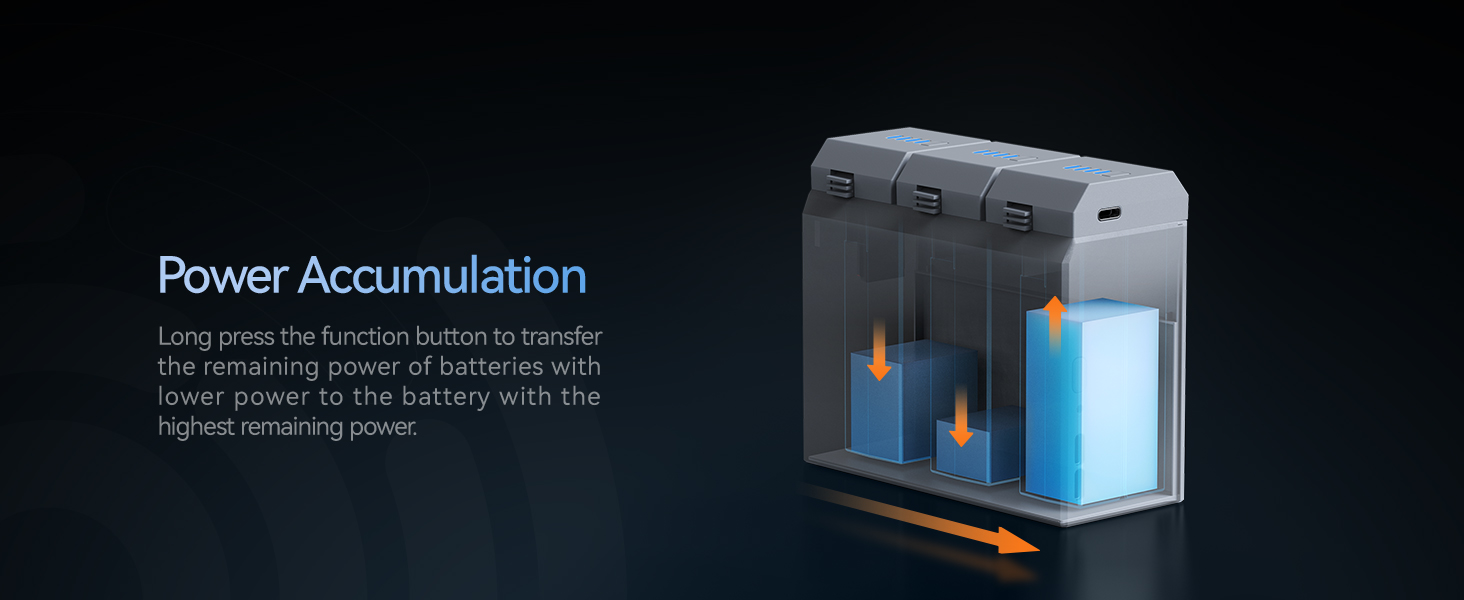
HS790 Dual Batteries — 60-Min Total Flight

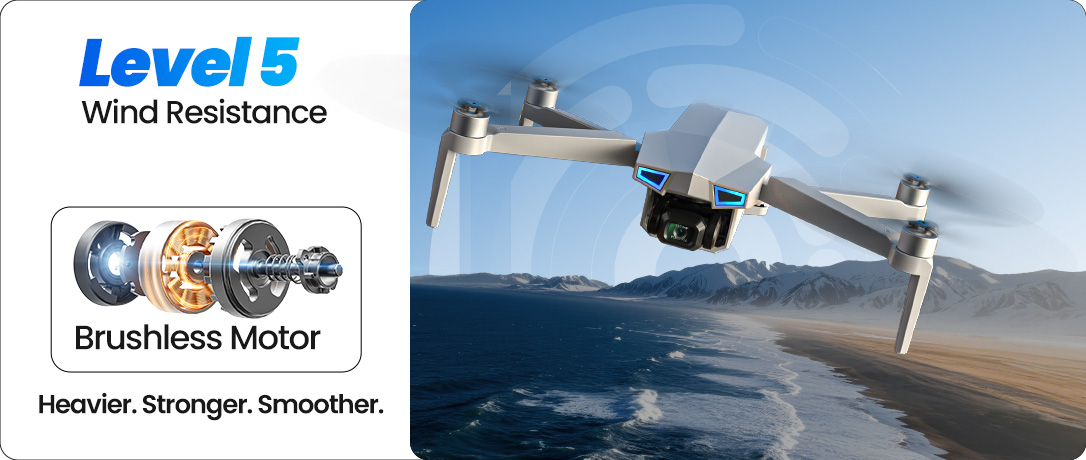
Two smart batteries deliver up to 60 minutes total air time (2×30). Efficient brushless motors and Level-5 wind resistance help keep footage steady when the shot takes longer.

HS790 dual batteries 60mins flight.jpg

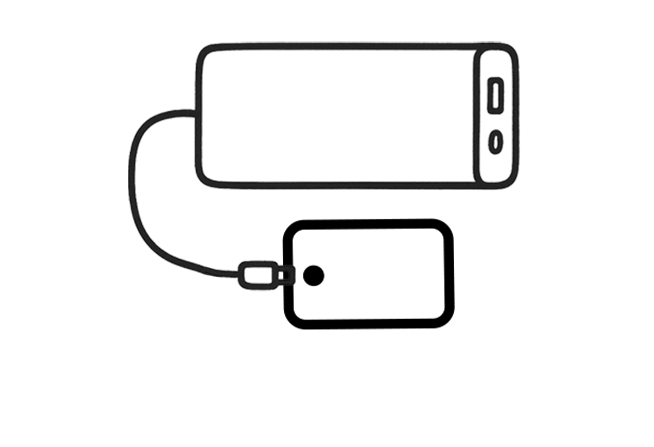
Wired Connection — Phone & Transmitter

A direct cable between your phone and the remote keeps the control link stable and reliable. No mobile-network interference, no extra setup — just a crisp live view for confident flying.

Wired Connection phone and transmitter.jpg

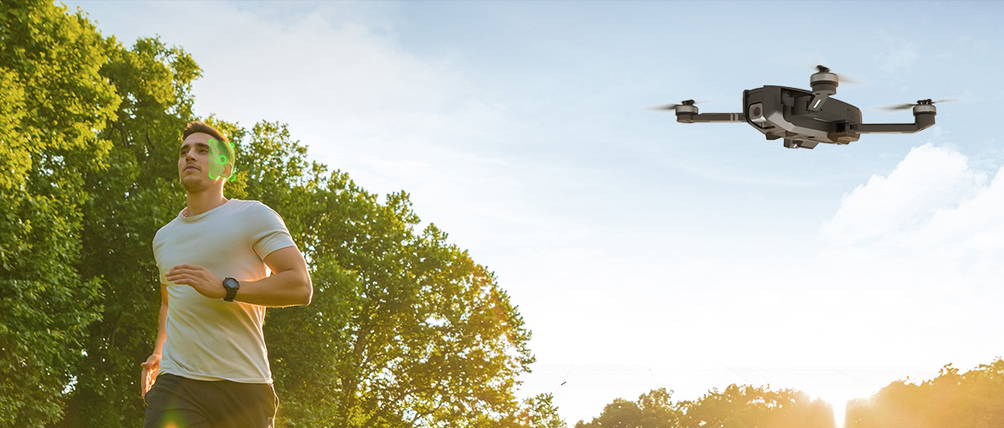
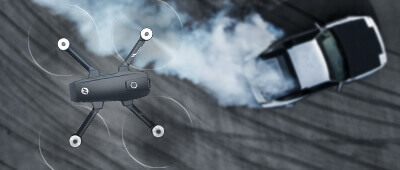
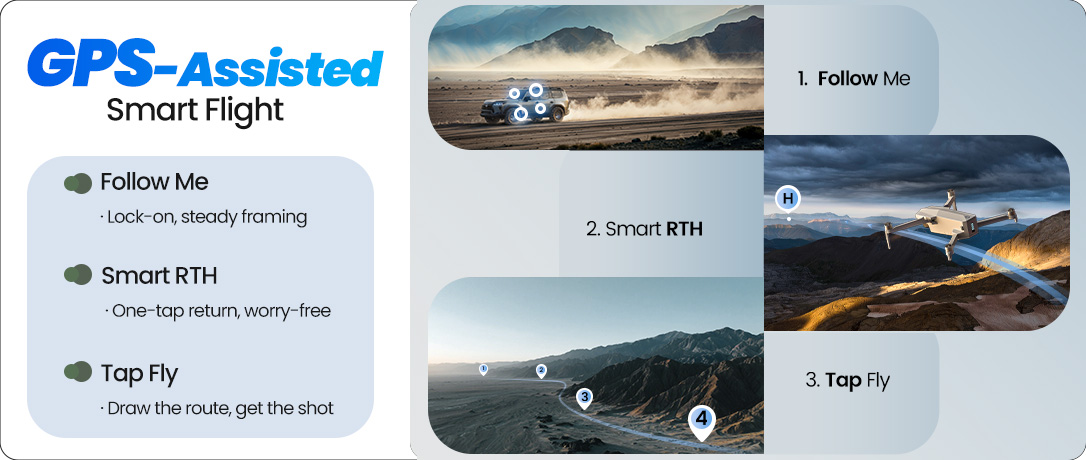
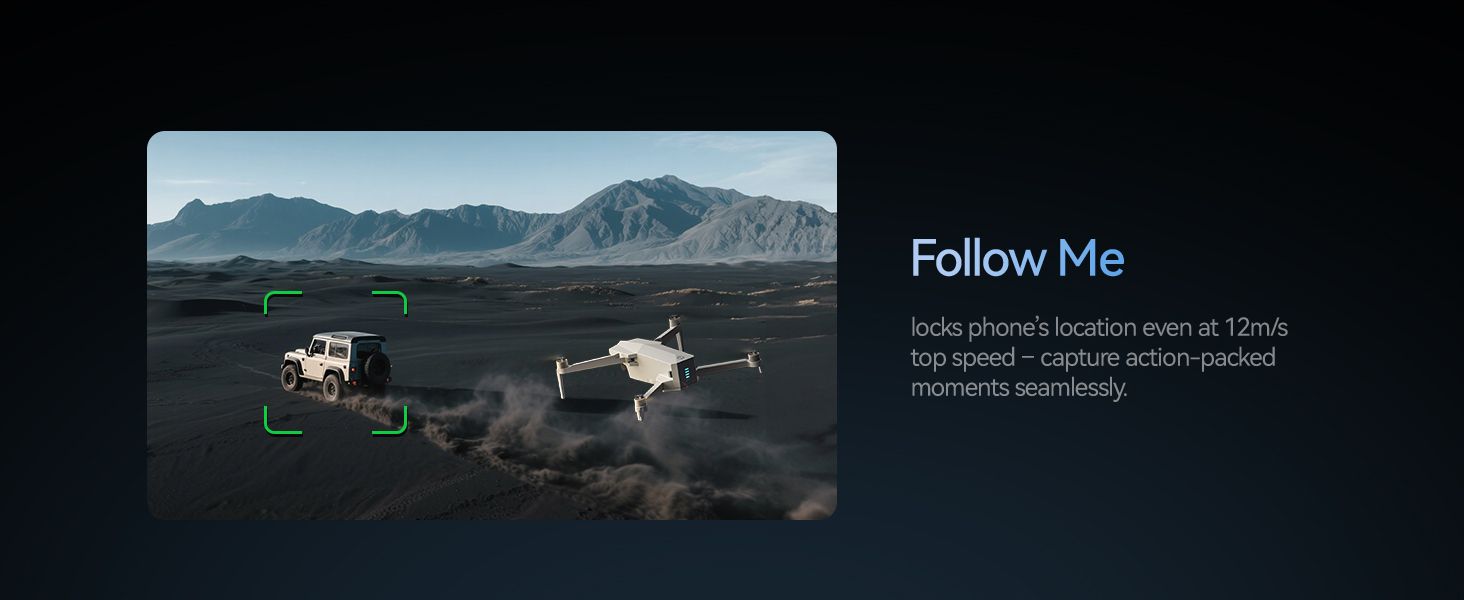
HS790 Follow Me — Locked on Your Movement

With GPS tracking, the drone follows your pace for hands-free shots while you hike, ride, or run — keeping you centered and in focus.

HS790Follow me.jpg

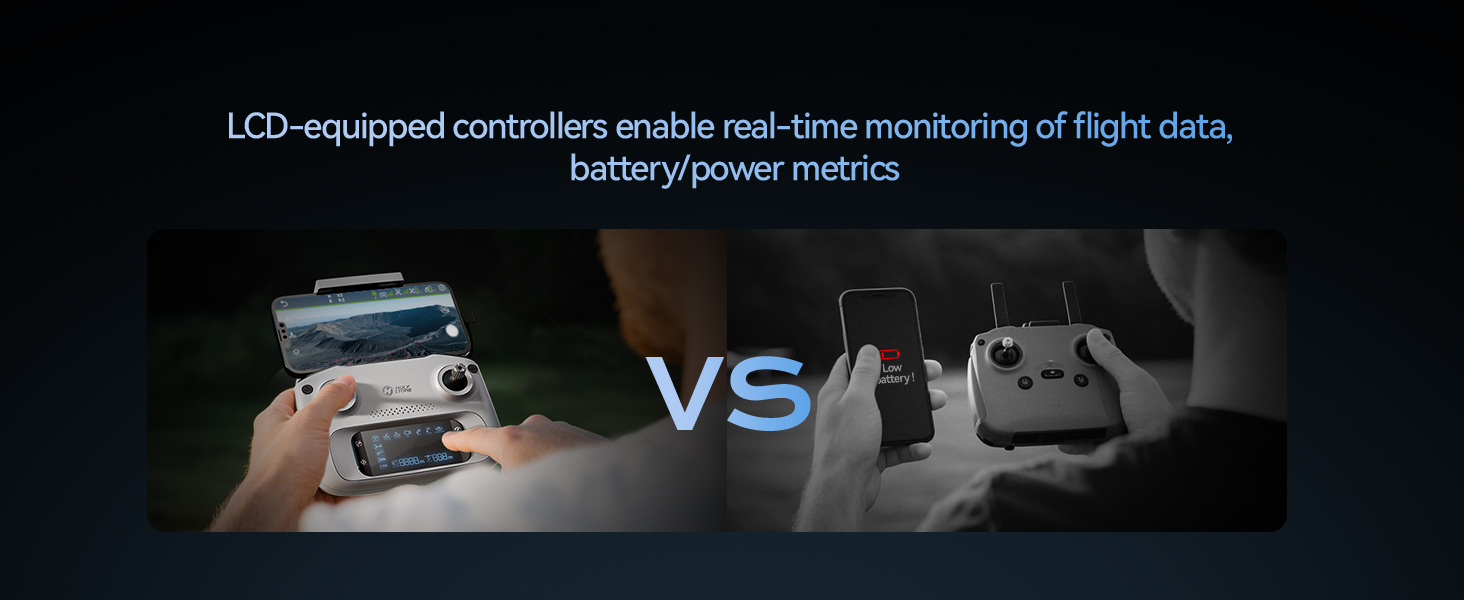
HS790 Controller with LCD Screen — At-a-Glance Telemetry

Check battery, GPS, distance, and signal strength on the built-in LCD without diving into menus. Clear status = quicker decisions in the air.

HS790 Controller with LCD Screem.jpg

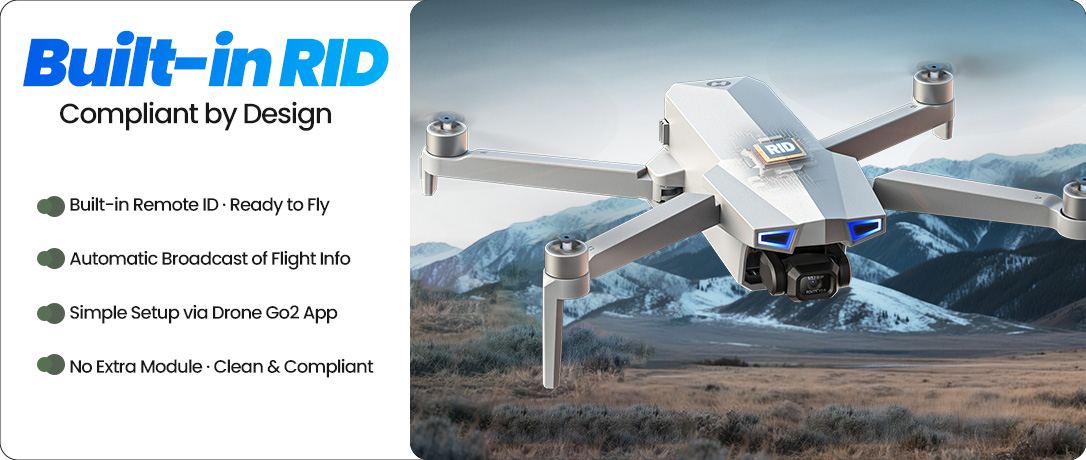
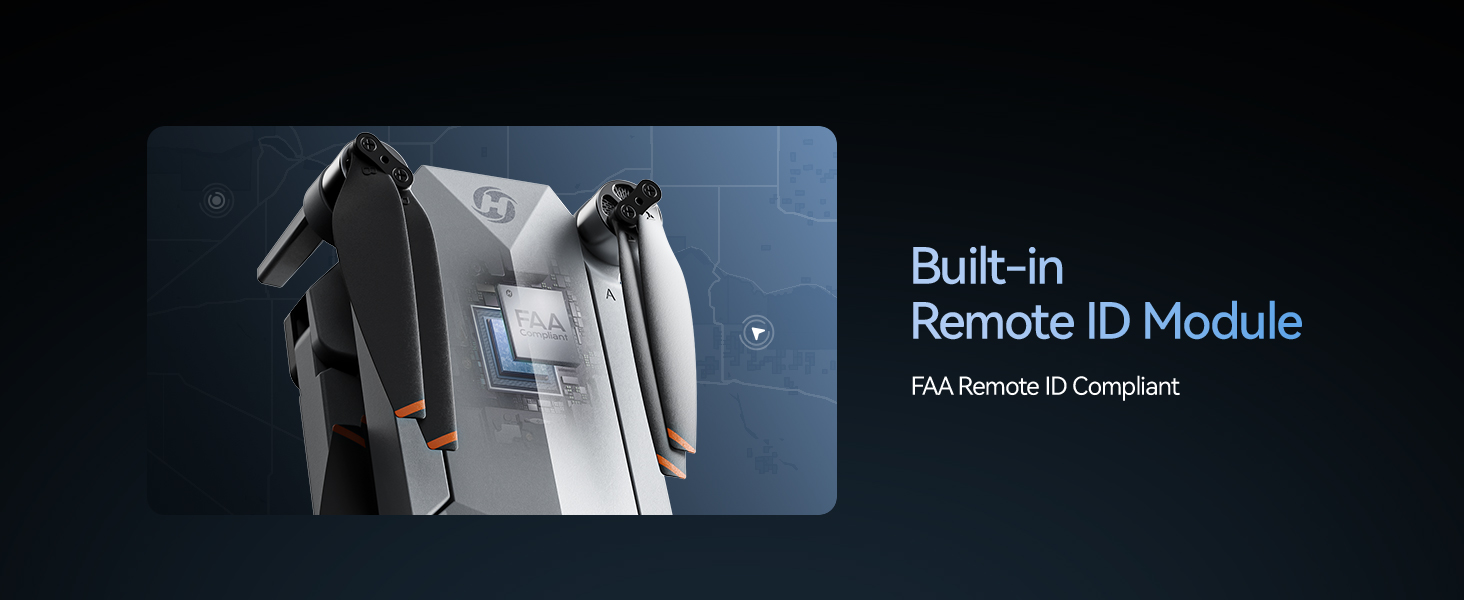
Built-in Remote ID — Compliant by Design

Fly ready for RID rules out of the box. No external module, no signal compromise — easier compliance and fewer worries about fines.

built-in RID.jpg

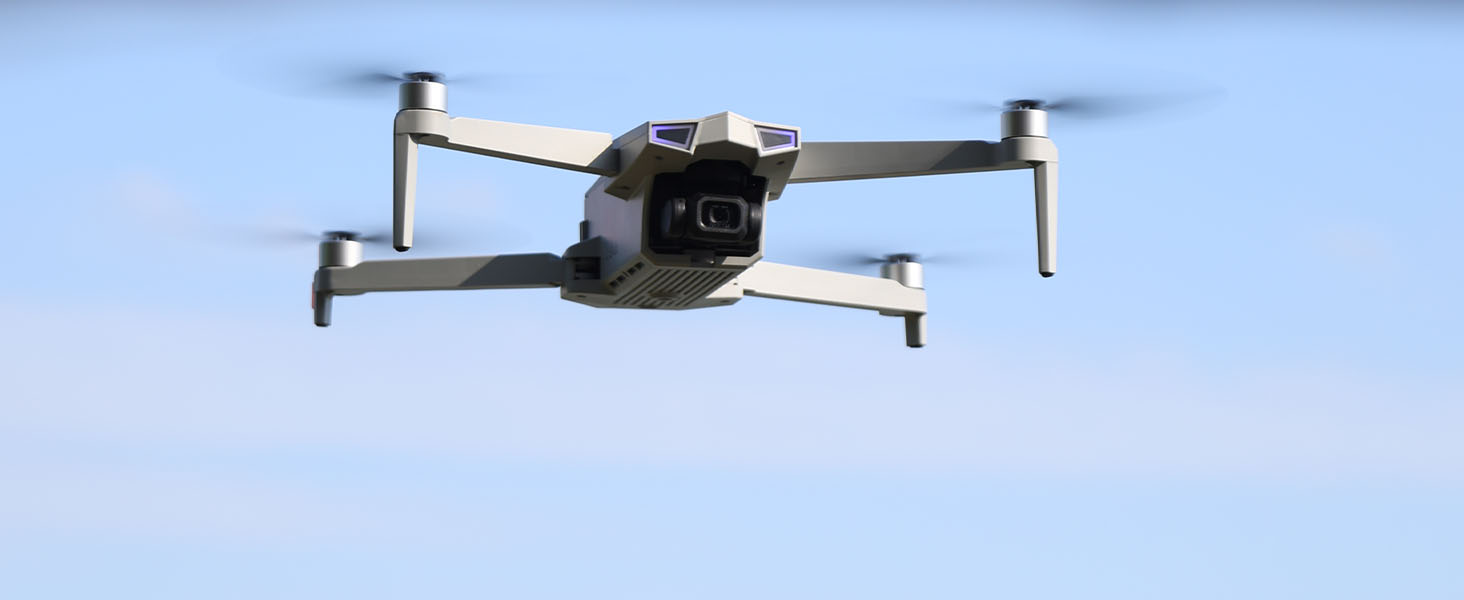
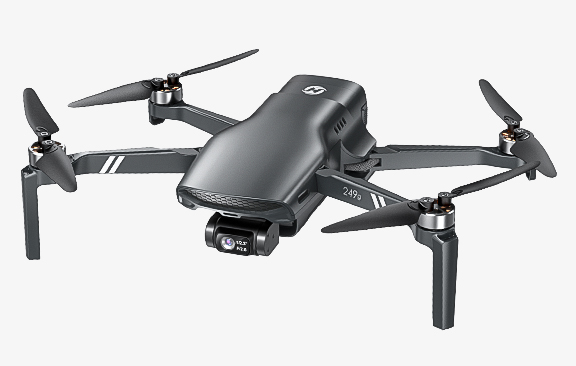
HS790 — Stable by Nature

A balanced frame with brushless drive delivers firm control authority. Paired with the 3-axis gimbal and EIS, your shots stay cinematic even when the breeze picks up.

HS790 H5.jpg

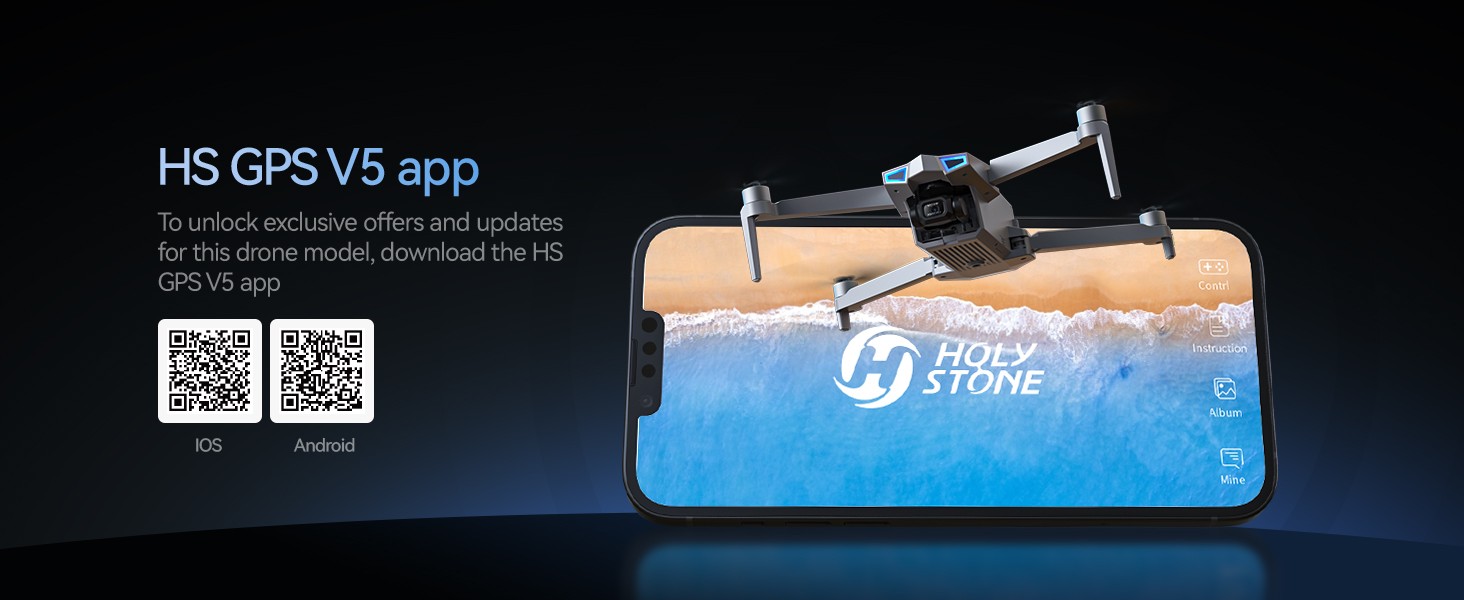
HS790 Easily Share — Shoot, Sync, Post

Use the HS GPS V5 app to back up footage, trim clips, and share to social in a few taps. Templates help first-time creators look pro right away.

HS790 Easily Share.jpg

HS790 Support Team — We’ve Got Your Back

Holy Stone Care offers responsive help, tutorials, and quick replacements to keep you flying. Focus on the shot; we’ll handle the rest.

HS790 Support team.jpg

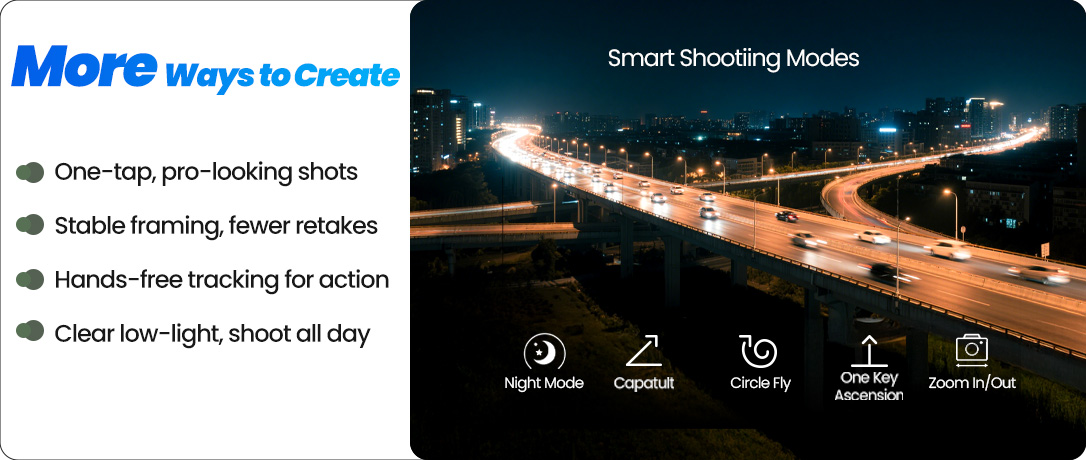
Masterful Shot Modes for Every Occasion

HS360S-Masterful-Shot-Modes-Point-of-Interest-&-Spiral-Up-small.gif

Point of Interest 

Tap the ( Multi-functions ) icon first, select the ( Point of Interest ) icon, and follow the prompts to activate ( Set the circling radius in the prompt box ), the drone will record its current flight position as the "point of interest", then it will continuously circle that point clockwise. (default radius: 16 ft)

To exit, tap (Point of Interest) again.

Spiral Up

Ensure the drone is about 16 ft from the target. 

Adjust the camera angle towards the target. Tap (Multi-functions), then (Spiral Up). Swipe to confirm, and the drone ascends and circles (max. radius: about 49 ft), recording along the way. It will return to the starting point. 

To exit, tap (Spiral Up) or push the right joystick. 

Ensure no obstacles are in the flight path. In emergencies, push the right joystick to exit Spiral Up.

HS600D-Masterful-Shot-Model-Tap-to-Fly.gif

Tap Fly

When using Tap Fly, enlarge the map before drawing the flight path. 

Tap the (Multi-functions) icon, then (Tap Fly). Tap on the phone screen up to 16 times to create a flight path. Hit "GO" to submit the route. 

The drone will fly along the path created by connecting the tapped points. 

Exit TapFly by tapping (Tap Fly) again or pushing the right joystick in any direction.

 Avoid flying towards people, animals, or small/thin objects (e.g., tree branches and power lines) or transparent objects (e.g., glass or water). 

Note: The actual flight path and the path you draw may not align perfectly.
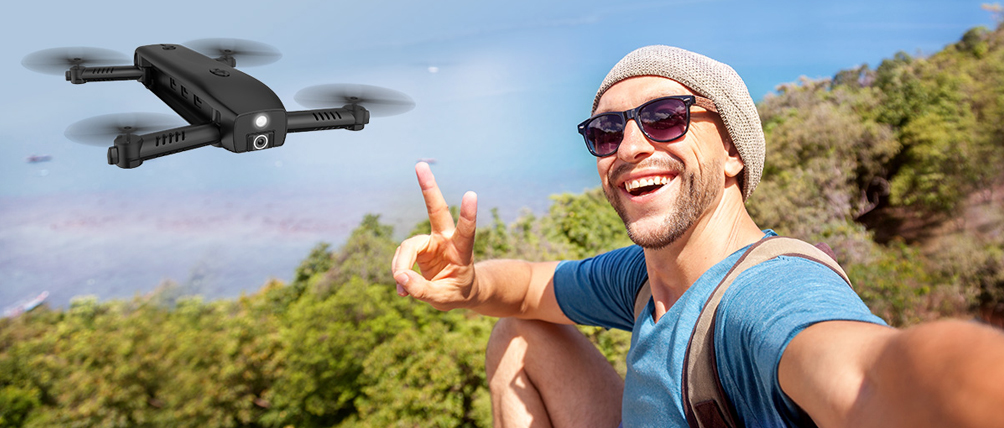
HS360S-Masterful-Shot-Modes-Gesture-Selfie-Video-Time-lapse.gif

Gesture Selfie

Tap the (Multi-functions) icon, then tap (Gesture Selfie) icon to enter the Gesture Selfie Mode. 

Gesture Selfie: Trigger the drone camera shutter by holding a 'V' sign near your face.

Gesture Selfie Video: Trigger the drone camera shutter in this mode by holding your palm near your face.

Ensuring the drone camera points towards you.

Time-lapse

Tap the Shooting Mode Icon, then tap the Time-lapse icon for time-lapse shooting. Swipe to select playback speed and tap to confirm. 

Tap the shutter icon to start the time-lapse recording.
Tap the shutter icon again to stop recording.

HS360S-Masterful-Shot-Modes-birds's-eye-Catapult.gif


One-key Ascension (bird's eye) & Catapult

Ensure the drone is at least 7 ft away from the target. Adjust the camera angle to point directly at the target. 

Tap (Multi-functions), then (One-key Ascension). Swipe in the prompt box to confirm. The drone will start recording and ascend to 49 ft. Afterwards, it will fly back to the starting point. 

To Exit: Tap (One-key Ascension) again or push the right joystick.

Catapult

Ensure the drone is at least 7 ft away from the target. Adjust the camera angle to point directly at the target. 

Tap the (Multi-functions) icon, then the (Catapult) icon. Swipe in the prompt box to confirm. The drone will automatically start recording and fly about 82 ft away from the target. Afterwards, it will return to the starting point. 

To Exit: Tap the (Catapult) icon again or push the right joystick to exit this function.


HS790 Real Shots

_0000s_0023_HS790 (2).jpg
_0000s_0010_HS790 (25).jpg
_0000s_0019_HS790 (7).jpg
_0000s_0012_HS790 (18).jpg
_0000s_0013_HS790 (20).jpg
Creator-ready | Sony detail · Gimbal-steady · Up to 9 km link · 60-min flight SPECS

DRONE

Model: HS790

Weight: 377g / 13.3oz

Max Flight Time: about 30 minutes (in a windless environment)

Max Flight Height: 394ft / 120m

Max Takeoff Altitude: 9842ft / 3000m

Max Wind Speed Resistance: 8m/s

Operating Temperature Range: 32° to 104°F (0° to 40°C)

Size: 169 × 92 × 66 mm (Folded)

249 × 205 × 66 mm (Unfolded)

DRONE BATTERY

Capacity: 3200mAh

Voltage: 7.7V

Battery Type: Lithium-ion Polymer Battery

Energy: 24.64Wh

Charging Temperature Range: 41° to 104°F (5° to 40°C)

Fastest Charging Time: approximately 110 minutes (using Fast Chargers)

USB CHARGING CABLE

Input: 5V/2A

Rated Power: ≤10W

GIMBAL

Stabilization: 3-axis (tilt, roll, pan)

Controllable Range: -90° to 0°

CAMERA

Operating Frequency: 5745–5825MHz

Photo Resolution: 5700 × 3200P (when stored in TF card)

1280 × 720P (when stored in cellphone)

Video Resolution: 3840 × 2160P@30fps (when stored in TF card)

2688 × 1512P@50fps (when stored in TF card); 1280 × 720P@30fps (when stored in cellphone)

Lens: FOV 75°

Photo Formats: JPEG/JPG

Video Formats: MP4

Supported TF Cards: Supports a TF Card (Class 10 or above) with capacity of up to 256GB

Supported File Systems: FAT32

TRANSMITTER

Operating Frequency: 5745–5825MHz

Battery Type: 3.7V 3600mAh Lithium-ion battery

Operating Temperature Range: 32° to 104°F (0° to 40°C)

Charging Time: 120 minutes

Creator-ready | Sony detail · Gimbal-steady · Up to 9 km link · 60-min flight IN THE BOX
Package Content.png

Standard Package


HS790 Drone × 1

Transmitter × 1

Drone Battery × 2

Propellers × 4

USB Charging Cable × 1

Screwdriver × 1

Gimbal Cover × 1

User Manual × 1

Connection Cable (Type-C) × 1

Connection Cable (Lightning) × 1

Creator-ready | Sony detail · Gimbal-steady · Up to 9 km link · 60-min flight DOWNLOAD
Creator-ready | Sony detail · Gimbal-steady · Up to 9 km link · 60-min flight FAQ
Troubleshooting
  • Motors won’t start / can’t unlock

    - GPS signal is weak or you are indoors (GPS mode blocks unlock without enough satellites).

    Move to an open outdoor area and wait until the app shows “Ready to fly”. If you must fly indoors, long-press the GPS switch to enter ATTI mode. (GPS functions will be unavailable in ATTI.) :contentReference[oaicite:0]{index=0}

    - Compass calibration is in progress or compass interference is detected.

    Redo compass calibration in an open area away from metal structures, cars, or power lines. :contentReference[oaicite:1]{index=1}

    - Battery is too low, or there are abnormalities with propellers/arms/motors/ESCs.

    Charge with the original cable and check/replace propellers; inspect the airframe if a crash occurred. :contentReference[oaicite:2]{index=2}

  • Why can’t the gimbal tilt or stabilize?

    - The gimbal cover is still on or gimbal protection is active.

    Remove the gimbal cover before power-on. :contentReference[oaicite:3]{index=3}

    - Aircraft not on a level surface / gyro not calibrated.

    Place the drone on a flat surface, power on, let the self-check finish; if needed, calibrate the gyro. :contentReference[oaicite:4]{index=4}

    - During compass calibration the gimbal does not function.

    Complete calibration, then wait for the gimbal to re-center. :contentReference[oaicite:5]{index=5}

  • Unstable flight or abnormal posture

    - GPS is unstable due to buildings/obstructions; or compass interference.

    Fly in open areas; land and recalibrate the compass; try another location away from towers and power lines. :contentReference[oaicite:6]{index=6}

    - Deformed or damaged propellers.

    Replace with new propellers before flight. :contentReference[oaicite:7]{index=7}

  • Video lag or limited transmission range

    - Signal interference from buildings, towers, or power lines; or the RC/phone are not facing the drone.

    Operate in open areas and keep the transmitter/phone oriented toward the drone to improve link quality. :contentReference[oaicite:8]{index=8}

    - Aggressive stick inputs or phone performance issues.

    Use smooth joystick movements; close background apps on the phone. :contentReference[oaicite:9]{index=9}

  • App cannot connect / no live view

    - USB cable not fully seated or wrong phone prompt selection.

    Reconnect firmly. On Android choose “Charge only”; on iPhone tap “Trust” when prompted. :contentReference[oaicite:10]{index=10}

    - App permissions not granted.

    Grant all permissions requested by HS GPS V5. :contentReference[oaicite:11]{index=11}

  • RTH (Return to Home) won’t trigger

    - RTH requires GPS mode, a recorded Home Point, and no compass interference.

    Wait for strong GPS, confirm Home Point recorded (status solid green), then press the RTH button. :contentReference[oaicite:12]{index=12}

    - In Low-Voltage RTH the aircraft behavior is limited.

    When low-voltage RTH starts, allow auto-return or land promptly; near 2nd stage it descends directly. :contentReference[oaicite:13]{index=13}

  • Compass calibration fails or repeats

    - Performed near magnetic sources (cars, steel structures, scaffolding) or while carrying ferromagnetic items.

    Move to an open area, keep phones/keys away, hold the drone about 3 ft off the ground, and rotate as instructed. :contentReference[oaicite:14]{index=14}

  • Battery/charging issues

    - Charging started right after flight or non-original cable used.

    Let batteries cool to room temperature and use the original USB cable/adapter (5–12V, up to 2A; QC/PD supported). Fastest charge per battery is about 110 minutes with fast chargers. :contentReference[oaicite:15]{index=15}

  • Charging Hub: can’t fast-charge / wrong order

    - The hub charges one by one from higher to lower state of charge; QC/PD adapter not used.

    Use a QC/PD USB-C adapter (5–12V, max 2A). The hub auto-switches batteries until all are full; status LED shows progress. :contentReference[oaicite:16]{index=16}

  • Charging Hub: Power Bank mode not working

    - Mode not enabled or battery SOC too low for output.

    Insert a battery, power it on, connect your device to the hub’s output, then press the mode button once (LED turns blue, slow flash). Some special devices may not be supported. :contentReference[oaicite:17]{index=17}

  • Charging Hub: Power Accumulation unclear

    - Accumulation requires more than one battery and a long press on the mode button.

    Insert multiple batteries and power them on, then press-and-hold the mode button until the LED turns red. The hub transfers power from lower-SOC batteries to the highest-SOC one and stops when full/low; charge the depleted packs soon after. :contentReference[oaicite:18]{index=18}